Intro
Follow these clear, thorough photographs and step-by-step directions to create a handcrafted, waterproof shower liner for a curving shower enclosure.
What Is The Purpose Of A Shower Pan?
Shower pan and shower base are two terms that are frequently used indiscriminately. These are, nevertheless, subtly different, despite the fact that they have comparable functions.
A shower pan is an acrylic, tiled, molded, or fiberglass component that is fitted upon on the bathroom’s floor to divert water down toward the drain.
A shower foundation, but at the other side, is the framework underlying the shower bench, typically manufactured of mortar or cement, around which the showering pan is erected or fitted.
The shower base is a sturdy base that serves to guide water down the drain while also offering security for the shower aperture or alcove.
Shower Pan Flooring Styles
There are several kinds of shower pan flooring available, but the following four are perhaps the most prevalent. The below are some of them.
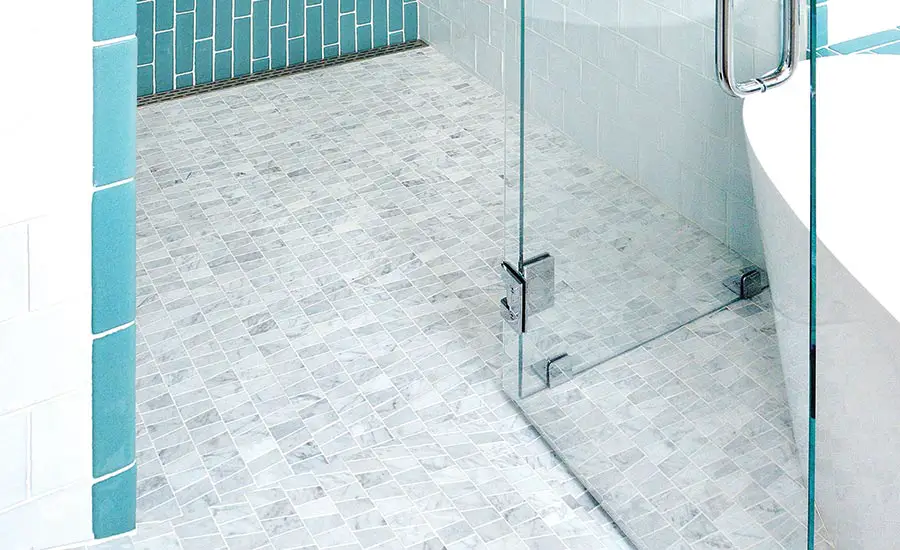
Tile
This is often employed by homeowners that desire a premium appearance and brilliance in their bathtub. It’s pretty pricey and difficult to keep up with.
Because the tile shower floor would be moist whenever you take showers, some tiles are built specifically for the washroom or shower to reduce slipping dangers.
As a result, selecting the right tile for your tile shower would go a big step toward ensuring that you have the greatest shower pan.
Acrylic
A big sheet of acrylic was already warmed and placed over a mold to create this sort of shower pan.
As contrasted to tile, acrylic shower pan pavement is more durable, less expensive, and easier to manage.
This is also available in a variety of colors and styles to bring personality and attractiveness to your bathroom.
Molded Stone
The most common materials utilized to produce molded stone shower pans are natural materials and synthesized plastic.
It’s a sort of shower tile that adds a touch of class to your shower whilst remaining robust, easy to clean, and mold and mildew resistant.
Fiberglass
This kind of shower pan is composed of polyester resin that is mixed with woven glass fibers before being injected into a mold.
A fiberglass shower pan is less expensive and simpler to keep clean than any other shower materials
If it isn’t maintained properly, though, it can rapidly become soiled or destroyed. This may inadvertently make it less sturdy and long-lasting than the others.
Tips For Preparing For The Shower Drain Construction Process
When you’ve decided on the kind of shower pan you would like to make, there are a few things you should keep in mind as you get started.
Constructing a shower pan is a do-it-yourself project, so you shouldn’t have any issues with security. And you know how to build shower pans.
You’re ready to go once you’ve figured out how to use the numerous tools you’ll need for your project. However, there are a few things to keep in mind before constructing your shower pan.
If this is your first time creating it and you are unsure about doing it alone, you should counsel or ask the help of an expert before beginning.
This way, things will be easier for you, then you’ll have somebody to help you.
- To prevent inhaling dirt, put on your boots and masks before getting started. Because you’ll be working with cement, that’s also crucial.
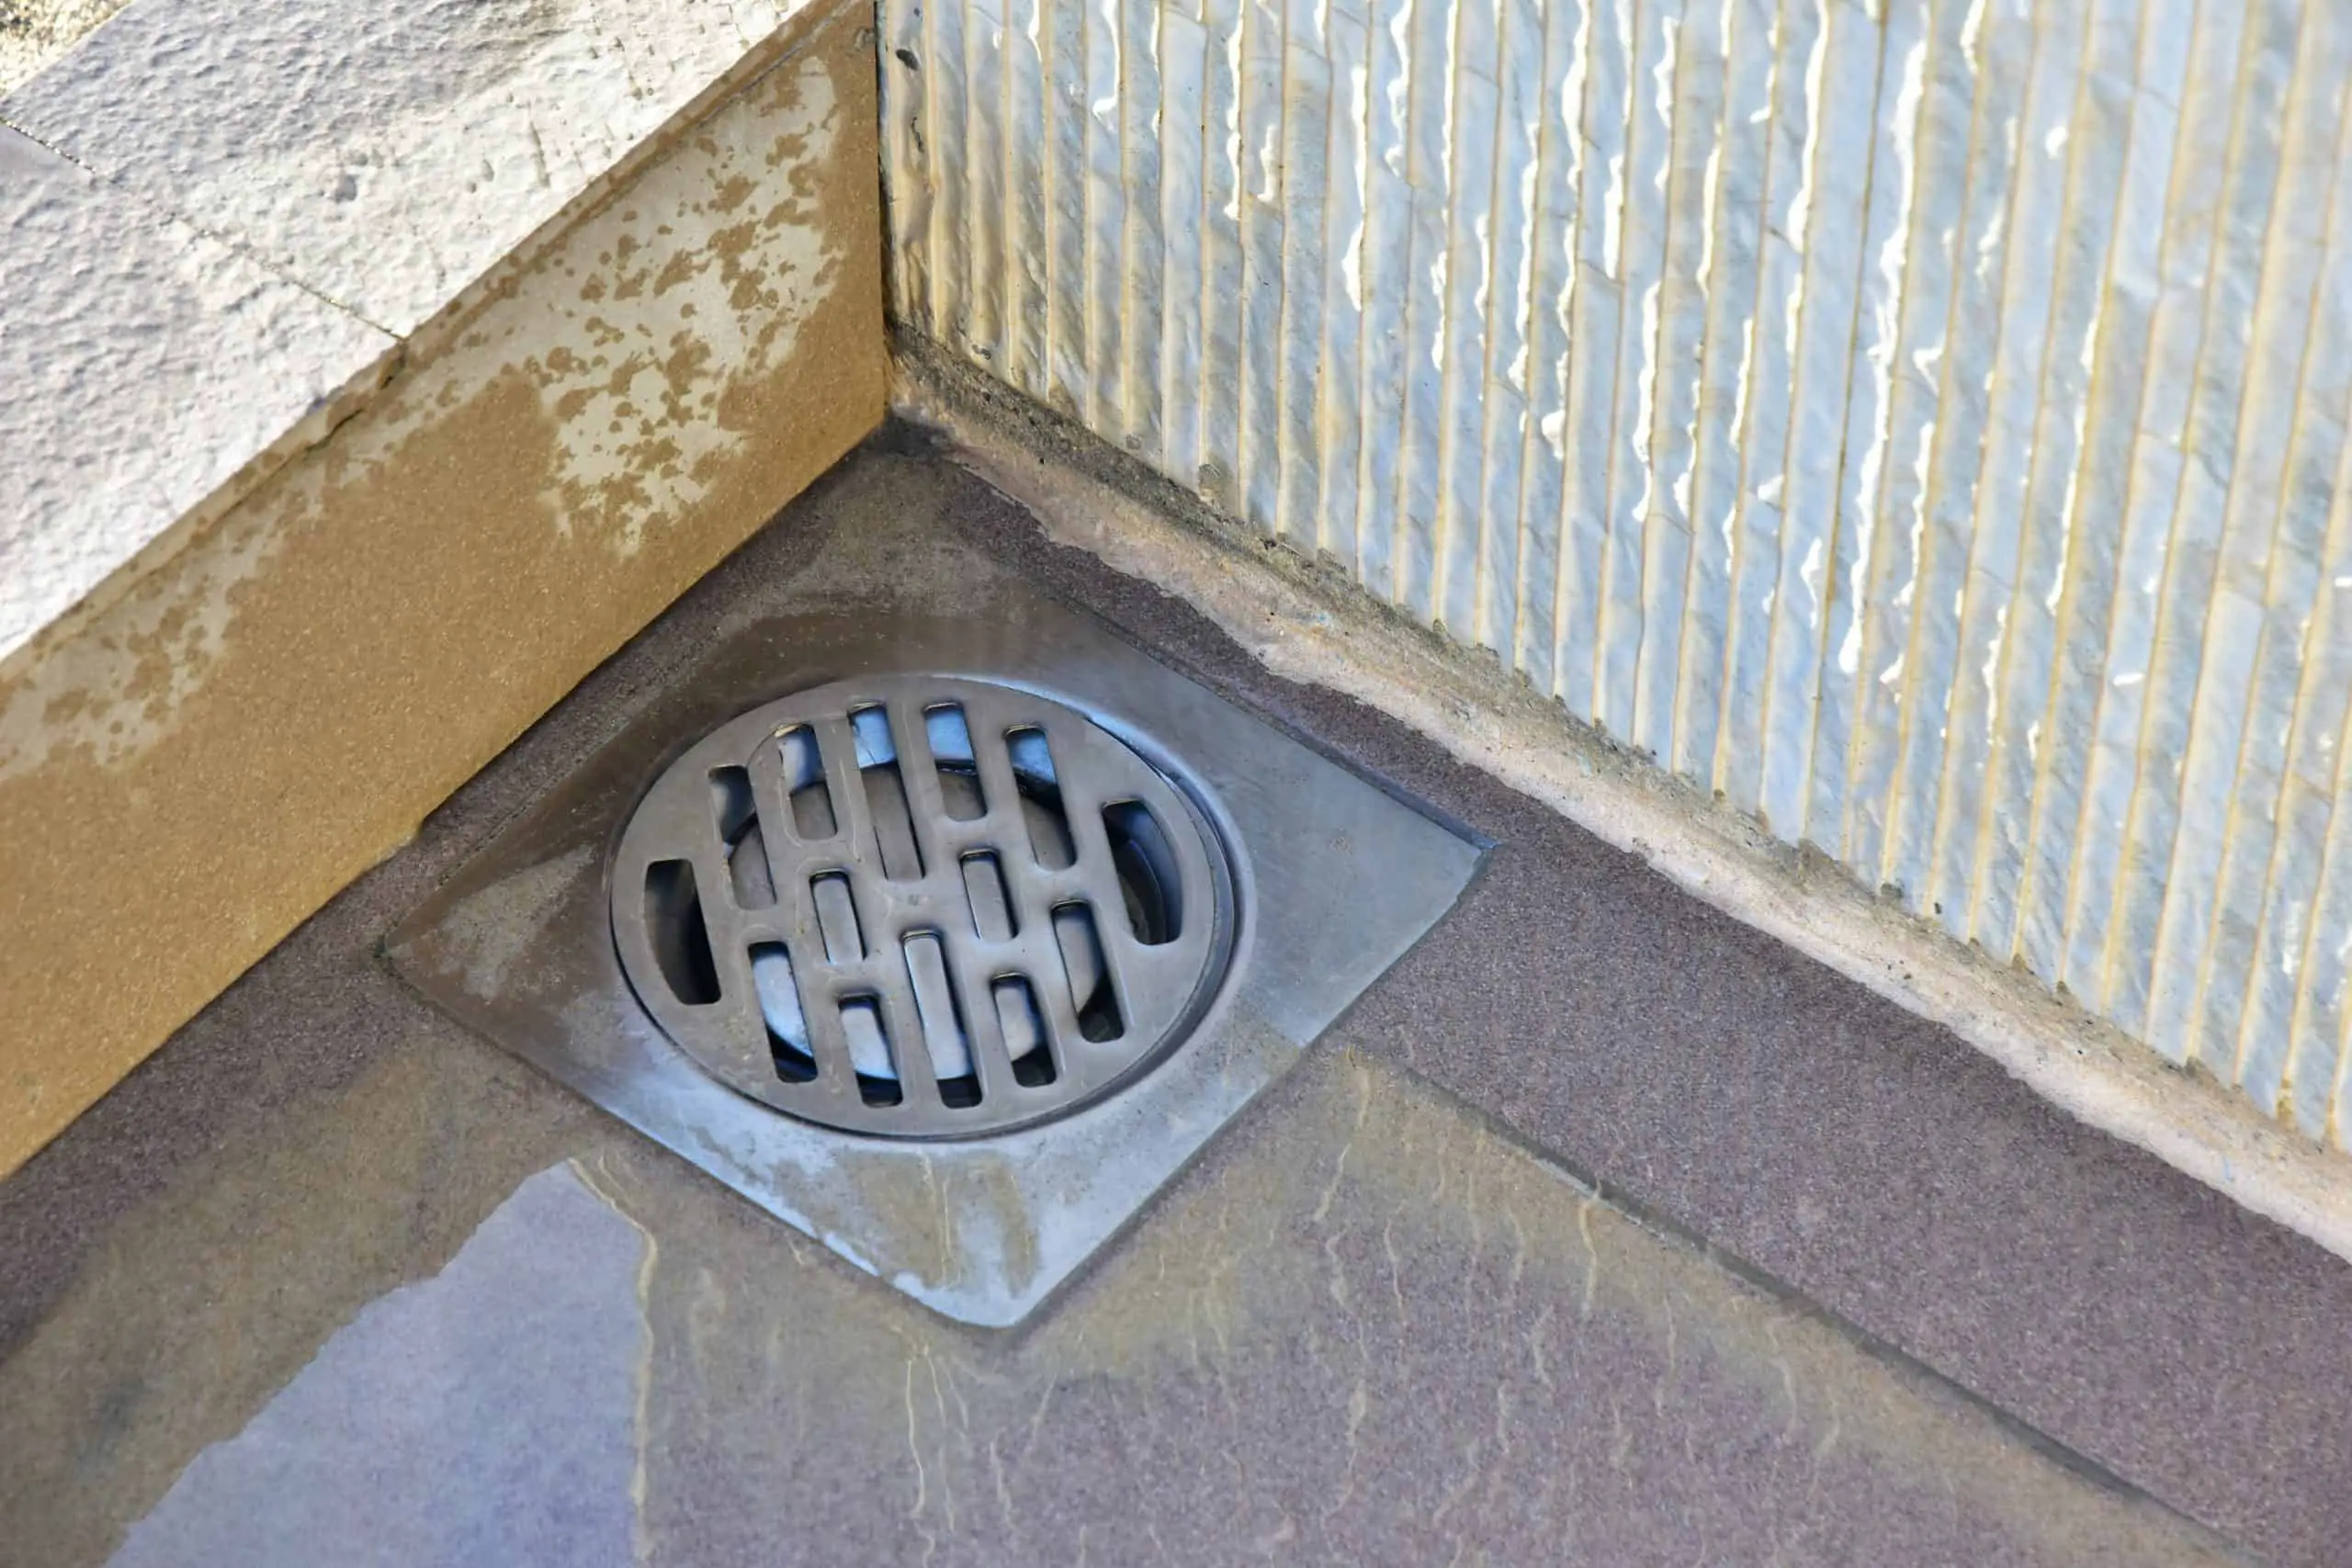
- Before you begin, make sure you get a drain in position. Call a plumber to build one for you if you don’t have one.
- Plan ahead of time and take accurate readings of the shower pan components you want to use as well as the area where you need to construct it in order to achieve the best results.
- Verify that your shower pan slides gently towards the drain throughout construction to eliminate standing water.
Description of Shower Floor Installation
The shower pan is typically fitted after the piping drain pipes and water system pipes have indeed been installed, but prior to the shower walls and other finishing, construction has been completed in an alcove shower curb design.
Shower pan configuration takes place before the bathtub tiling is put, after any framework work is completed, and after the plumbing and electrical connections are installed in a whole bathroom renovation.
Shower pans of other synthetic fabrics or acrylic feature ribbed bottoms to provide strong stability underneath, but pouring a thin coating of cement onto the underfloor in the bathroom floor space before placing the shower base pan still seems to be common practice.
The mortar anchors and supports the ridges on the underside of the shower pan that extend out from the outflow hole.
Whenever an acrylic shower pan is put into a mortar layer tack welded over the flooring, it is significantly more stable and robust.
Certain tile shower pan producers, like DreamLine, require the installation of the shower pan by a competent professional.
If you’re installing a shower base pan alone, please follow the supplier’s instructions as well as local building codes. Refusing to do so could result in the warranty being invalidated.
While fitting the shower drain system, essential to fulfilling the drain hookup details given by the shower pan supplier.
A shower drain system is occasionally provided with the showering pan, but you’ll need to purchase it individually with other showering pans.
Required Tools
- Caulk gun
- Bucket
- Chalk line
- Framing square
- Cordless drill
- Hammer
- Level
- Handsaw
- Rags
- Needle-nose plier
- Tin snips
- Wood chisel
- Utility knife
Required Materials
- 1″x3/4″
- 1-1/4-in. roofing nails
- 10d galvanized nails
- 2×4
- 1×4
- 2×6
- Ceramic floor mix
- Galvanized metal lath
- 3-in. drywall screws
- Fiberglass mesh tape
- Duct tape
- Hardboard siding
- String
- Shower drain assembly
- Vinyl membrane
- Tile backer board
- Thin-set mortar
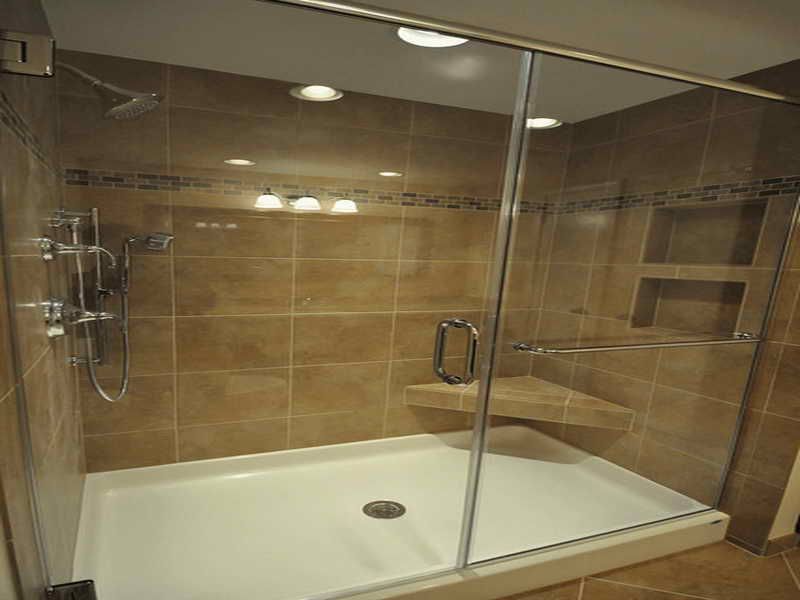
If you’d like to install a shower, all you have to do now is go out to a house improvement store and get a fiberglass device.
Pros had to mix and apply cement, trowel it smooth, then lay porcelain shower plywood subfloor that was feasible.
Although fiberglass is simple to install, they lose the beauty of a cement and tile floor.
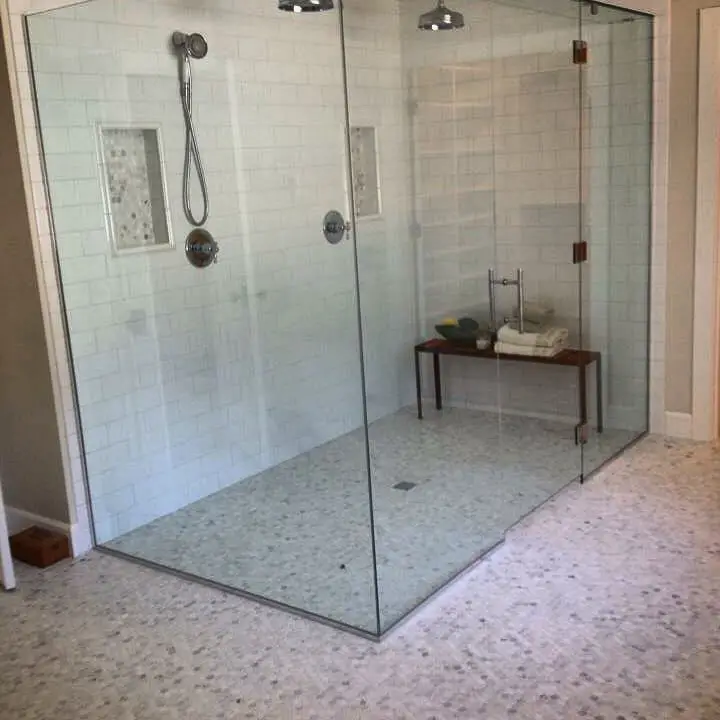
You’ll be able to tile this to match the walls if you’d like to build a tiled shower but are ready to design your personal custom showering pan.
Your bathroom may be any form with cement and tile flooring. (For example, have a look at How to Build a Frameless Glass Shower.)
A mortar flooring may be the only option if the bathtub you have now in mind does not correspond to the stringent size criteria of a prefabricated foundation, regardless of its design.
You’ll discover that the components used for a palm foundation are around the same price as a comparable-sized fiberglass pan.
The disadvantage is you’ll have to perform a lot more effort than just inserting a produced device into the hole.
Mix and press in 2 phases of mortar, cope with some difficult vinyl membrane liners, and then installing the tile will take a number of days.
Bathtub pan installation isn’t a job for winging this or cutting corners on.
Shower pans that have been improperly placed may leak, and that the only method to remedy this is to pull out not just the base as well as the cubicle walls.
Although the shower pans used in this construction are complex, the basic methods are the same across even the tiniest shower – one the length of a payphone.
With the exception of tile work, anyone should be capable of completing virtually any size shower bench in less than two days if you already have prior cement expertise and fundamental trowel abilities.
The Composition of a Concrete Shower Floor
That the very first layer, often to as a sloping fill, is nothing more than a mortar subfloor. It slopes toward a 2 clamping-type drainage built particularly for a cement bed marble shower (accessible at any hardware store).
With a gradient of 1/4 inch every foot, the sloping fill slants first from drain to towards the shower’s border.
Because our shower was about 3 feet wide, we slanted up first from the drain’s 2-inch thickness to a one-inch thick all around the wall tiles curb to achieve the required ¾ inch gradient.
The pan, or second stage, is a long-lasting CPE. The edges of this vinyl are turned up to form a moisture barrier in the form of a small dish.
Fluid will move down the gradient and be drained via the drain’s weeping holes as it passes through the grout and the topmost part of the mortar.
To strengthen the mortar, a coating of expanded galvanized metal lath is placed on top of the drain pan.
A sloping mortar bed was put over the wood, following the same 2-inch slope guideline as to the sloping fill.
Showers curbs aid in the containment of water in situations where there are no walls. A curb saves you time when the drain becomes stopped, maybe because of a washcloth and over the surface.
It will hold back the water in the shower short time before allowing it to spill onto the shower floor.
Bit by bit, complete the task (14)
Step1
Make a Floor Plan
- Draw shower floor framework on the subfloor to serve as a guide for laying out the mortar structures.
- Closely attach 8d nail to the separator and bend the bent structure board 65 inches.
2nd Stage
- Ensure that the layout is correct.
- Lay out everyone’s shower upon this subfloor, and used the program implementation this example, tile, and concrete block—to assist define its size and shape for showering dish placement.
Alert!
We built and constructed a shower that weighs up to 1,000 pounds, which is roughly the same as a spa with so many people in there!
You might have to extend the floor in an existing house with retracted or 2×8 joists to accommodate certain pillars or additional room joists.
Contact a structural engineer whether you’re unsure. In addition, if your building was bought in the 1970s, you’ll need to eliminate the torque wrench particle cement board subfloor first.
3rd Stage
- Break Down the Barriers
- Cut the wallpaper in just such a manner that the drywall-to-concrete-board seam is mostly concealed behind the stone veneer.
- Customers should be shown how to use the grid divider to help with the folding of the ceramic panel.
- Create multiple pairs of 3-foot broad concrete cement board and six feet of plasterboard, two creep well above the compacted carpeted floor to accommodate for the slope build.
4th Stage
The Curve’s Structure
2×6 toe-nail obstructing at the shower’s foundation on inside dividers to aid the vinyl lining
- To accommodate for the thickness of the hardboard siding, toe-screws 2×4 squares to the subfloor every 12 inches and 1/2 inch away from the line.
- For curving curbs, rip the paneling to 3-1/2 feet and screw this to the back of the blocks.
- Remove the excess hardboards after shaping by toe-screwing 2x4s for straight checks.
- After the mortar job is completed, it is easier to remove toe screws.
- Nail in 1-inch thick tirade sheets against dividers on a regular basis.
- Copper plumbing and channel water pipes are harsh.
- Creating a Shower Plan
When calculating and placing your shower, keep the following factors in mind:
The format of the tiles. If you choose your divider tile ahead of time, it will be easier to determine the shower’s size.
We made little changes to the size because we only had 12-inch tiles until we got divider lengths that allowed complete tiles to come out beyond the glass block’s edge.
Entrances to showers If your shower has an entrance, pick it ahead of time to guarantee that the shower opening will accommodate it.
Remember to take into account the tile and concrete cement board thicknesses.
Consider adjacent bathroom entryways and apparatuses when determining the size of the shower entryway and the course it should swing.
Plumbing. It’s obviously much easier to connect a new shower to current plumbing if it’s close by. Copper water, sewage drain, and vent lines can be connected to pipes in a nearby bathroom. Our shower was connected to a common wall, which housed all of the plumbing we required.
It can be difficult to reach the sewer drain while keeping the sud within the required distance from the drain water vent if you’re placing your shower in a remote place.
If the next level down is completed, you may need to pull out walls or the ceiling below the shower to complete hook-ups. Plumbing a new toilet can be more difficult than creating a shower from the ground up.
5th Stage
- The First Mortar Layer
- To avoid debris from falling into the pipes, remove the top section of the shower channel and cover the drainpipe with a cloth.
- Tirade the main layer of mortar after loading it with a wood coast.
- To create a 1-inch to 1/4-inch inclination toward the channel, use detachable 1-inch tirade blocks along with the controls.
- With a wood buoy, smooth the surface, then smooth with a steel scoop.
- For the time being, let the mortar harden.

6th Stage
- Place the Liner in Place
- To protect the real liner from the harsh edges of plumbing or electrical plates, tack up small pieces of the vinyl liner.
- Introduce the liner by running it 6 inches up the dividers and nailing it to the studs at the top edge with material nails.
- With your fingertips, feel the channel spine bolts and sketch and meticulously slice the liner to fit just outside the bolts.
- Remove the liner 1/2 inch below the structure’s tallest point, against the bent edge.
7th Stage
- Corners should be overlaid
- To make a break for the liner folds, etch out within the corners of the outlining.
8th Stage
- Construct a Drain Hole
- With a utility blade, cut exactly outside the bolt holes to remove the vinyl liner for the channel.
- Apply a globule of silicone caulk to the rib’s exterior edge.
- Bolt the channel gathering’s top section in place.
- Cover the channel’s highest point with conduit tape to keep it secure while the mortar bed and tiling are being installed.
9th Stage
- Connect the Tile Backer Board to the Tile Backer Board.
- Cover the vinyl liner with a concrete board and fasten it to the studs with covered concrete board screws every 8 inches.
- To go over the examined areas against the dividers, cut gaps in the concrete board.
- Apply fiberglass tape and a light coat of cement or mastic to the wrinkles.
- When placing the concrete cement board, make sure the smooth side is facing out. This makes spreading tile adhesive and getting a flat surface for tiling and creating tile design lines a lot easier.
10th Stage
- Place the Metal Lath on top.
- Cut and put in a stirred extended metal strip on top of the liner, just shy of the concrete board edges, with a couple of tin cuts.
- For control support pieces, bend 12-inch x and 3-foot lengths of the strip over a 2×4.
- Maintain a height that is just over the structure’s statues.
- Make a succession of cuts every 10 creeps for a bent control to aid it to twist to the condition of the hardboard structure.
- Avoid taking a stroll along the strip. Its sharp blades are capable of piercing your waterproof layer.
11th Stage
- Organize the Curb
- Drop the pre-bowed check strip over the highest point of the vinyl liner.
- To keep the strip and top edge of the liner from collapsing and while you load the check with mortar, hammer an excited 10d nail through the strip and top edge of the liner.
12th Stage
- Mortar should be used to cover the lath.
- Snap chalk lines 1-1/4 inch above the sloping fill against the concrete board.
- Change the channel’s highest point by adjusting it up or down until it’s 1 inch higher than the slant fill’s highest position.
- Place a large amount of mortar on the divider and decrease it to the line.
- Screed off the mortar between the divider and the channel with the help of the pressed mortar.
- Use the straightedge to locate high and low points.
- Fill despondencies with mortar, then scrape away excess in the high areas.
- For a cleaner tiling position, use a steel scoop to smooth the bed and remove rough edges at all corners.
13th Stage
- The Curb is Mortar
- Tirade with a 3/4-inch pressed wood dance after loading mortar into the strip with a wood skim around the collapsed liner.
- After screeding, use a scoop to scrape the edges of the control to get new edges.
14th Stage
- Replace the Drain
- Unscrew the shower channel and raise it until it is the same height as the floor tile.
- This must be done before the mortar hardens.
Conclusion
Aside from making it easier to get into the shower, especially for the elderly, a shower pan is also bigger and more comfortable to sit on than a bathtub. But with the right shower pan, you may have a relaxing shower without worrying about water dripping all over your bathroom floor. And the above article will help you learn how to build shower pans.