Lately, wood pallet DIY projects seem to be very popular. Indoor furniture, garden furniture, storage of all kinds … These are some of the DIY decorating items that can be made from pallets. And it’s not surprising considering that they are a very easy material to get and that they can be transformed quickly.
The goal of this operation? To create everything we need for our interiors or exteriors! If you like to recycle wood pallets, you’ve probably already considered such a creative project. To get started with pallet work, there’s nothing better than starting with a simple DIY decorating idea.
Make a wood pallet planter, a simple project for beginner DIYers
Making a wooden pallet planter is just one of the best ways to learn how to recycle this kind of material. In this post, we’ll look at how to make a pallet planter step by step. Read on to find out all the details of this project!
The wooden pallet planter, an ideal accessory for exteriors of all sizes
Before we dive into the details of our pallet planter making tutorial, let’s take a quick look at why such a project is ideal for landscaping any size exterior. And, to begin with, let’s just say that wooden pallets are a very durable material and perfectly suited for outdoor decor.
This is because they are made with the purpose of transporting fairly heavy objects over long distances. As a result, pallets are made to withstand heavy weights. They can also withstand moisture very well and are very durable. This is true even in extreme weather conditions!
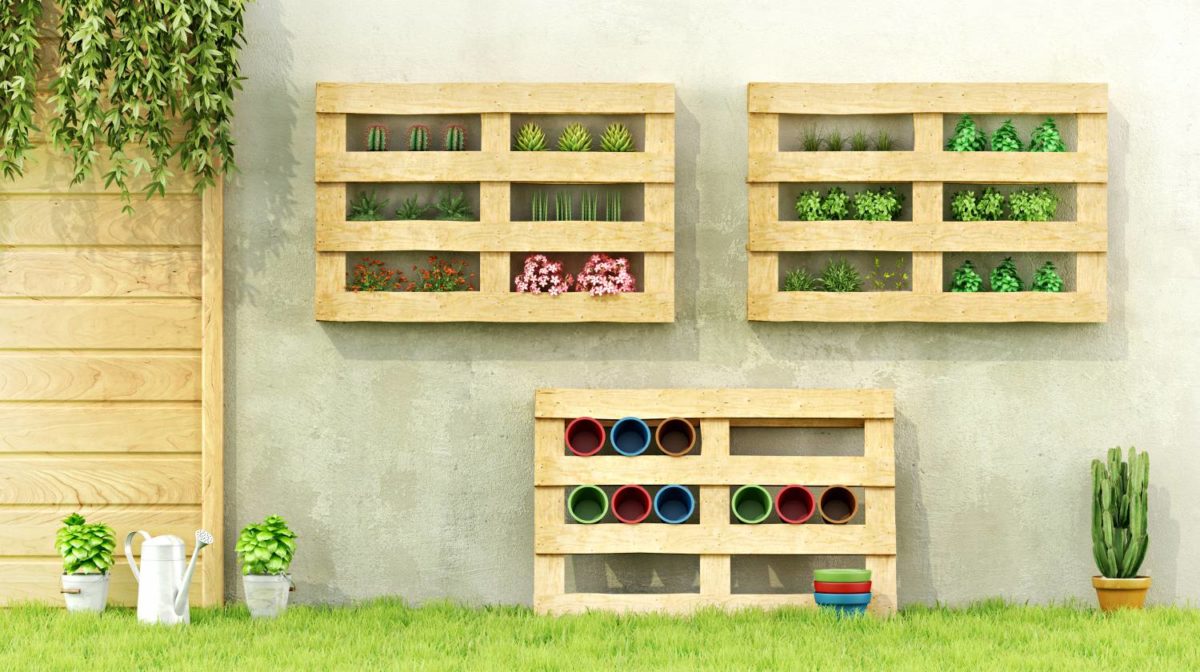
When it comes to DIY projects, you should know that there are several ways to recycle wooden pallets to make a horizontal or vertical planter. Some projects will require you to dismantle the recovered pallets; others, more simple, will allow you to reuse them as is.
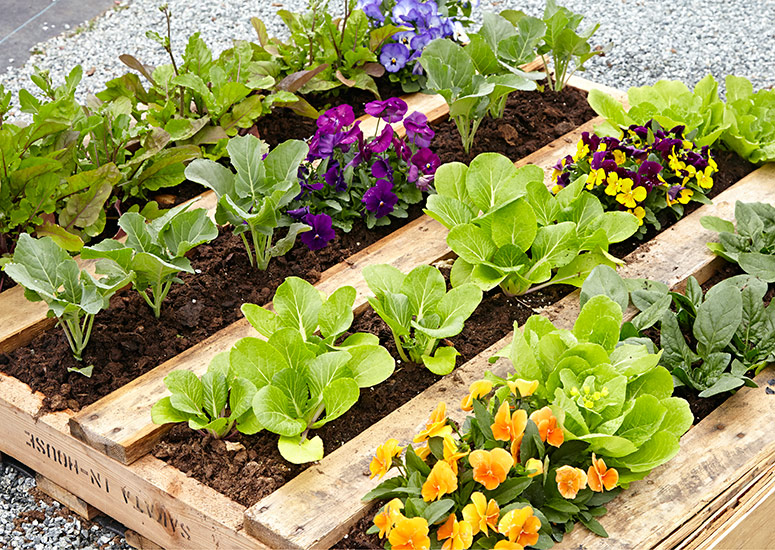
Depending on what you want to do, you could use pallets to make a classic horizontal planter, a space-saving vertical model, or even a greenhouse for your vegetable garden!
In the tutorial below, we will look at the essential steps to make a small size planter. Of course, you are free to adapt the size of the planter in question to suit your needs.
Making a wooden pallet planter – list of materials needed
This wood pallet planter DIY project requires very few materials, which makes it ideal for beginners. Here is everything you will need to make it:
- disassembled wooden pallets;
- a miter gauge or saw;
- a nail gun (or hammer) and nails;
- wood glue
How to make an easy wooden pallet planter
The first step of this tutorial is to prepare the material. Once the pallets have been taken apart, you will need to cut them into the size of your choice. For this project, you will need :
- two larger pieces of the same size (for example, 45 cm X 12 cm) ;
- two smaller pieces of the same size (for example, 9 cm X 12 cm);
- one piece to be used as a background for the planter.
Once you have cut out the pallet pieces, you can move on to building your planter. To do this, attach the pieces listed above together. Use the pieces to make a rectangle and complete it with the bottom piece.
To secure the parts of your wooden planter, use your nail gun or hammer. To make your creation even stronger, apply glue to the sides of the cut pallet pieces before putting them together.
Note that wood glue requires some time to dry. Follow the instructions on the package and allow the glue to dry for the time indicated.
After this time, your pallet planter will be ready to use. You can then place the plants of your choice in it.
Once assembled, your pallet planter can be further customized using a variety of techniques. In the next part of this text, we offer you some ideas to further embellish it. These additional steps can be done right away or at a later time.
To decorate your pallet planter, first work on its surface by removing all imperfections. To do this, sand all sides of the already assembled planter well.
Then move on to the next step. It consists in covering the outside of the planter with a coat of black paint. This will help give your creation an aged and more interesting look. Once you have applied this coat, let the paint dry well before continuing.
Then, using a little Vaseline, highlight various areas on the surface to give it an aged look. Emphasize the areas that tend to be touched most often, such as the corners of the planter.
After applying Vaseline wherever you want, apply a coat of light paint (such as white) over the entire surface. Let it dry, then apply a second coat and wait for it to dry as well.
Finally, highlight the areas where you have applied Vaseline. To do this, lightly sand them; the clear coat of paint will fall off in these areas and expose the black paint applied underneath. Finally, protect the surface of your planter with a clear coat of your choice.