Far from the imposing dressing room, the DIY clothes rack is an option that can be customized to your liking. We adapt it to the space intended and the desired style. Contemporary or natural, discover step by step 7 simple DIY for a decorative clothes rack in the bedroom.
The closets are overflowing and leave room for more refined storage desires. In the bedroom, the clothes rack makes it possible to identify shirts, pants, jackets, etc. at a glance. Nothing like it to solve the age-old problem of “What am I going to wear today?
In addition to being ultra-practical, the clothes rack is also a decorative asset. Trendy and stylish, it gives the room a certain character. All the more reason to make it your own! In a few minutes and with little equipment,
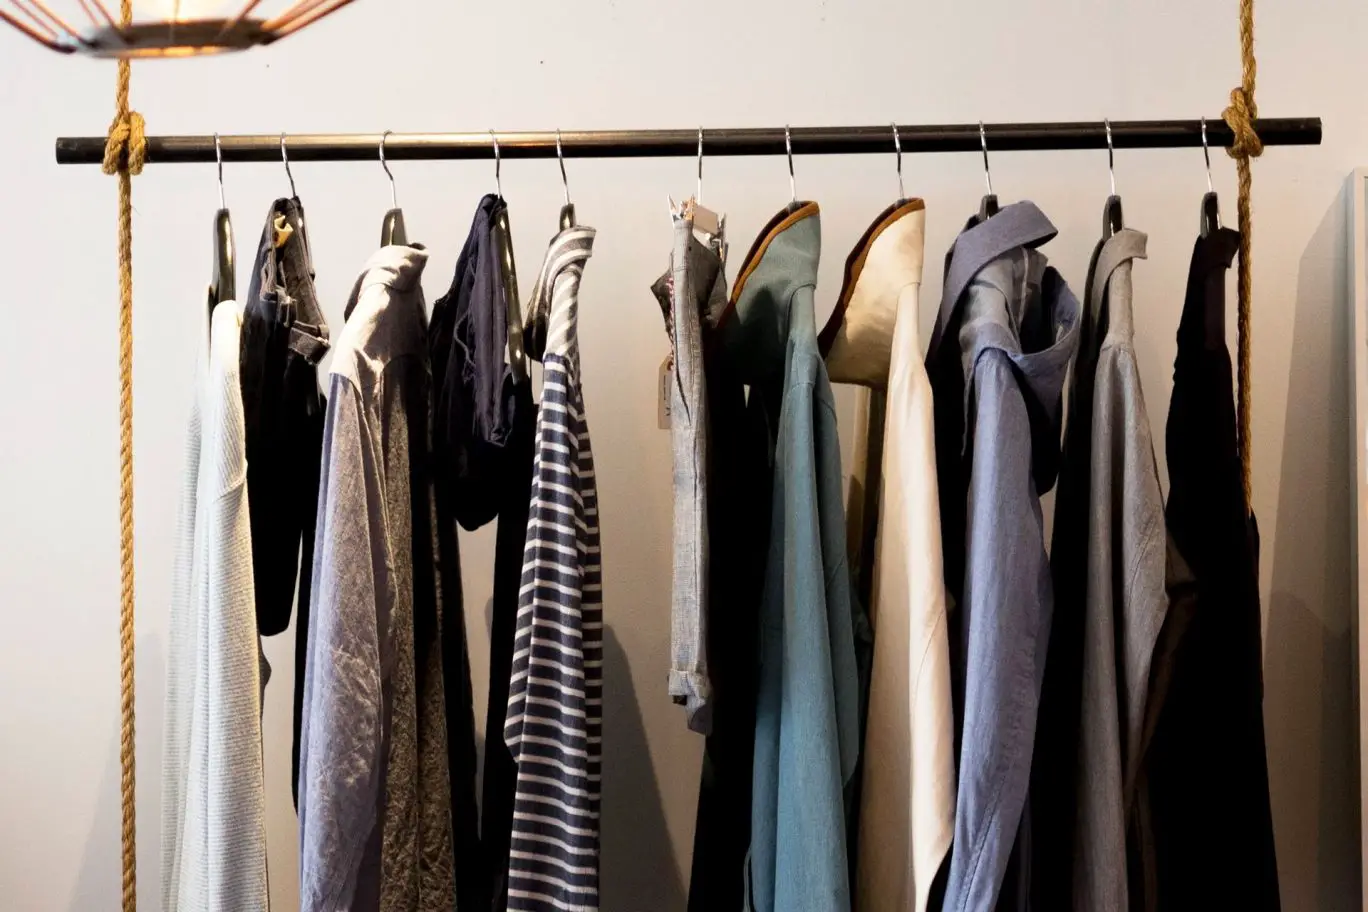
- A clothes rack as a garland in the room
With a few wooden beads, white or natural, and a rope or iron cable, create a pretty rack where you hang your best clothes.
Steps to follow:
Buy a batch of wooden beads that you will leave natural or paint as you wish. Thread them through a thick, sturdy rope or iron cable, any length you like. Hang everything with hooks for the rope or wall mounts for the cable, with enough space from the wall for the hangers to hang.
- An all-copper clothes rack to add style to the room
Don’t be fooled by its minimalist style, this clothes rack is sure to bring style to the bedroom. All made of copper, it is in line with the decorating trend.
Steps to follow:
Head to your local hardware store to find copper tubing, 6 90° elbows, 4 tees, 4 end caps, metal glue, and a hacksaw if you don’t have one.
Depending on the size you want for your rack, you can adjust the size of the copper tubes. You will need 2 tubes for the width (about 100 cm), 2 tubes for the height (about 170 cm), 2 tubes for the depth (about 50 cm) and 4 mini tubes for the legs (about 15 cm). Cut the tubes according to the desired length and assemble them with the copper connectors by adding a little glue. Let it dry and you’re done!
- A touch of nature in the bedroom
On a simple wooden branch, clothes are hung. A clothes rack idea for an airy style, to be made with three times nothing, in less than 5 minutes.
Steps to follow:
On a walk in the woods, flush out a nice, fairly sturdy wooden branch of sufficient length. To add a decorative touch, you can paint the ends of this branch white or something else, depending on what you want. Using a sturdy rope, make several turns around each end and tie a tight knot. Then hang the ropes from the ceiling with hooks.
- A small house to store your clothes
Very practical with its shelf and space for shoes, this clothes rack reveals plenty of storage.
Steps to follow:
In a DIY store, get several planks of wood. You will need: 2 boards for the floor and the shelf (about 100 x 50 cm), 2 boards for the height (about 150 x 50 cm), 2 boards for the roof (about 70 x 50 cm) and a large board in the shape of a house (about 170 x 100 cm). And don’t forget a wooden rod for your rack… Assemble everything with screws starting from the bottom of the house.

- A decorative clothes rack
With its hanging side, this clothes rack offers a double shelf. A perfect place for scarves and other accessories. It also has the advantage of freeing up floor space for the most beautiful shoes!
Head to the plumbing section of your local home improvement store! You’ll need to find 4 tubes (2 tubes about 70 cm wide and 2 tubes about 90 cm high), 2 copper elbows and 2 copper tees. You will also need a saw and some metal glue.
Before you check out, stop by the hardware store and buy two hooks and a good piece of rope. When you get home, put everything together and run the rope through it. Then hang the rack from the ceiling with the hooks.
- A clothes rack to put wherever you like
With three times nothing, make this clothes rack, to place and move as needed in the bedroom.
Steps to follow:
Provide yourself with 4 large wooden cleats of about 170 cm, 2 cylindrical pieces of wood and some string. Start by assembling the cleats by crossing them at the end. Fix them together with the 2 pieces of wood and add the rope after having drilled the cleats. Simple and effective!
- An ultra-chic clothes rack
Simplistic but full of style, this clothes rack is to make yourself without tools. An argument for non-do-it-yourselfers in search of easy DIY.
Steps to follow:
Assemble 4 copper tubes (2 tubes about 170 cm for height and 2 tubes about 70 cm for width) using copper elbows and some metal glue. Add 2 copper end caps to each end. Easy as pie!