
Chess is a fabulously fun yet challenging game. But, you don’t have to be a genius player to create your own checkerboard. So how to make a chess board?
You need some basic tools and good wood for this project. Then, with careful measurement and a bit of patience, you’ll checkmate other players quickly.
We will share step-by-step instructions right here. Let’s read on to discover!
What Do You Need?
Before starting your project, make sure you don’t miss anything in this list:
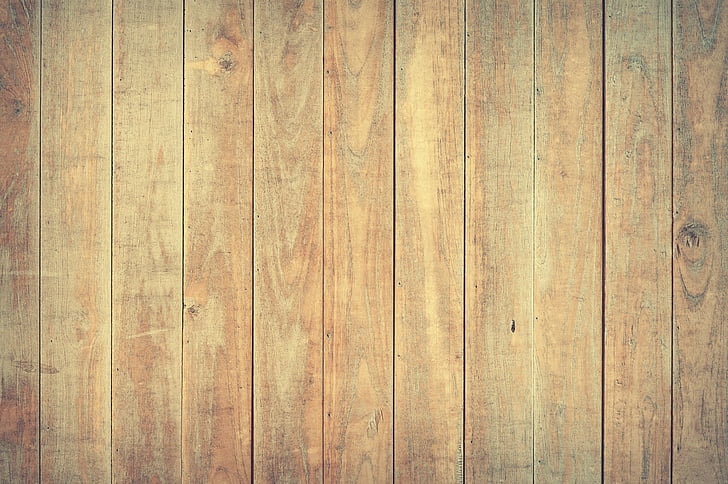
There are many materials to make a chess board, such as metal, glass, plastic, or even paper. However, wood appears to be the most popular choice since it’s easy to work with and can last long.
The quality of your project mainly depends on the wood pieces you choose. Woodworkers like to use these materials for this task:
- Maple: Maple is a lightweight, durable wood. Its light hue contrasts beautifully with a deep Ebony to produce a stunning chess board.
- Ebony: The wood is dark brown with pale stripes running through. It looks beautiful. Many woodworkers use semi-treated ebony to achieve this impression.
- Mahogany: The color of this rich hardwood is a deep crimson. It seems slightly pink or orange when first picked, but it turns a stunning deep red/brown hue after cured.
- Whitewood: Whitewood is a light-colored hardwood that resembles pine in appearance. In comparison to other woods, it is light and pretty soft.
How To Make A Chess Board?
We’ve broken the whole process into seven small steps so that you can catch up quickly. Let’s check!
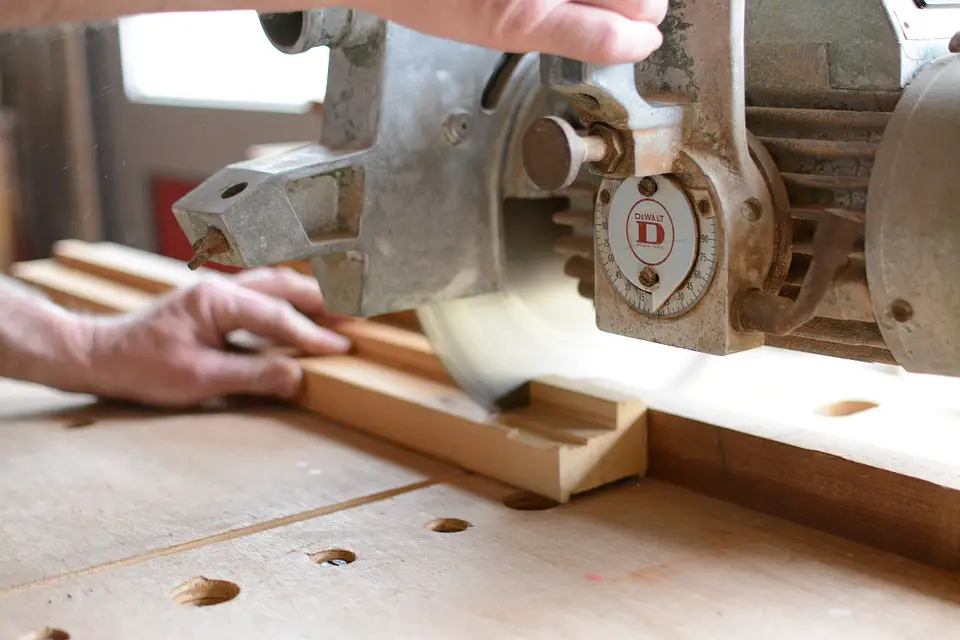
Step 1: Measure and cut the strips
A chess board has an alternating pattern. Hence, you need to prepare wood from two different colors. It’s best to go with one dark and one light that is the same thickness.
For example, you can pair maple with mahogany or cedar with pine. You may also get nice hardwood boards for your project at nearby hardware or home improvement centers.
Measure the strips evenly using a tape measure or a rule. They should be 46 centimeters in length. Remember to mark the cut lines with a pencil.
Then, carefully saw the strips with a circular saw. Don’t rush things, or you may hurt yourself. Follow the guidelines strictly.
Their width isn’t very important because you’ll be cutting the planks down to size later.
Set cut marks on the strips and cut them into 5.1 cm wide pieces.
Use the circular saw to cut them down to sticks, giving eight strips— four dark and four light colors.
Smaller sticks might be more difficult to cut with the saw, so take special precautions not to injure yourself.
If you want to save time and avoid injuries, ask the staff at the hardware store to cut the strips for you.
Step 2: Arrange the stips
Place the strips on a level surface, such as a table, and arrange them in an even pattern, alternating light and dark colors.
Apply a line of glue along the outer border of each of the pieces. The layer will be even if you apply the adhesive around the edge.
If any extra glue spills out between the sheets, quickly wipe it away with a towel before it hardens. Now, press all the strips together to shape the board.
Step 3: Clamp the edges
Grab the bar clamps and secure them to the board’s outer edges.
Fasten them until the strips stay in their place firmly, but not so tightly that the wood bends or distorts.
Check the glue’s package for precise drying periods and leave it to dry and solidify completely.
Step 4: Cut other strips in a different pattern
After the glue has hardened, use a ruler and a pencil to sketch lines across the alternating layout.
Cut parallel to the initial strips using the circular saw to get uniform strips with alternating dark and light squares.
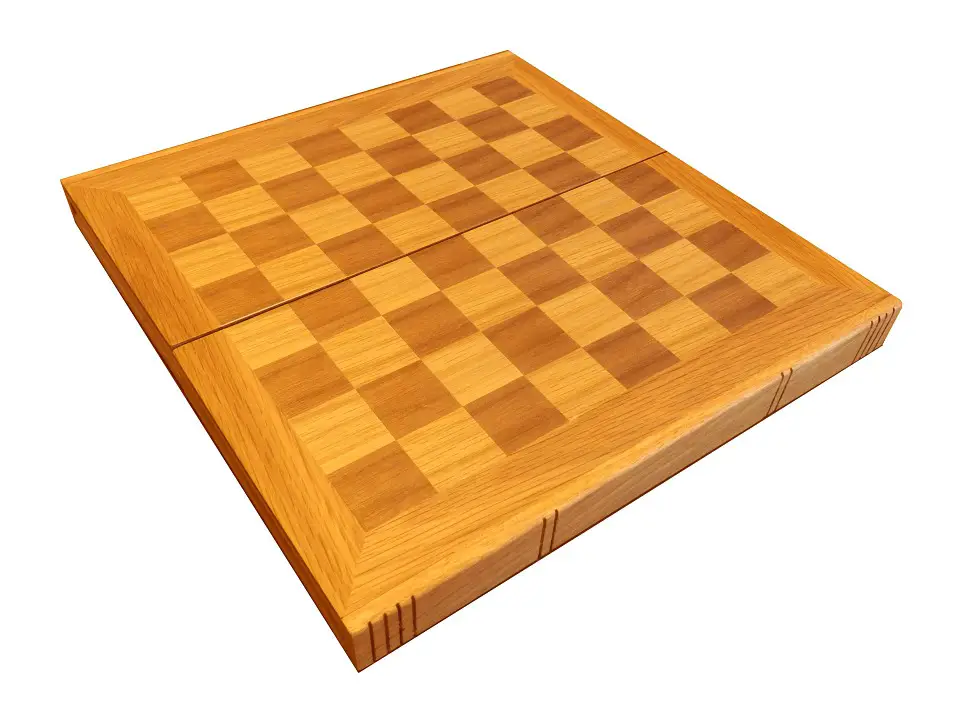
Step 5: Establish a checkerboard pattern
Place the alternating square strips on a level surface. Then, line the strips to form the checkerboard pattern.
Apply an even, thin coating of wood adhesive to the outer edges of the sheets and smooth it.
Compress the strips and make sure that they are still in line.
Step 6: Clamp the board
Attach the bar clamps to the chess board’s outer edges, exactly like what you did with the wood strips before cutting them.
Allow the adhesive to harden entirely according to the recommendations on the package.
It’s critical that the glue completely cures and solidifies before using it to secure your board joints.
Some checkerboards have borders around their edges. If you want so, measure the length of your chess board and cut four 1.9 x 2.5 cm strips.
Then, apply a thin, even layer of glue to the edges and fasten them until the adhesive cures.
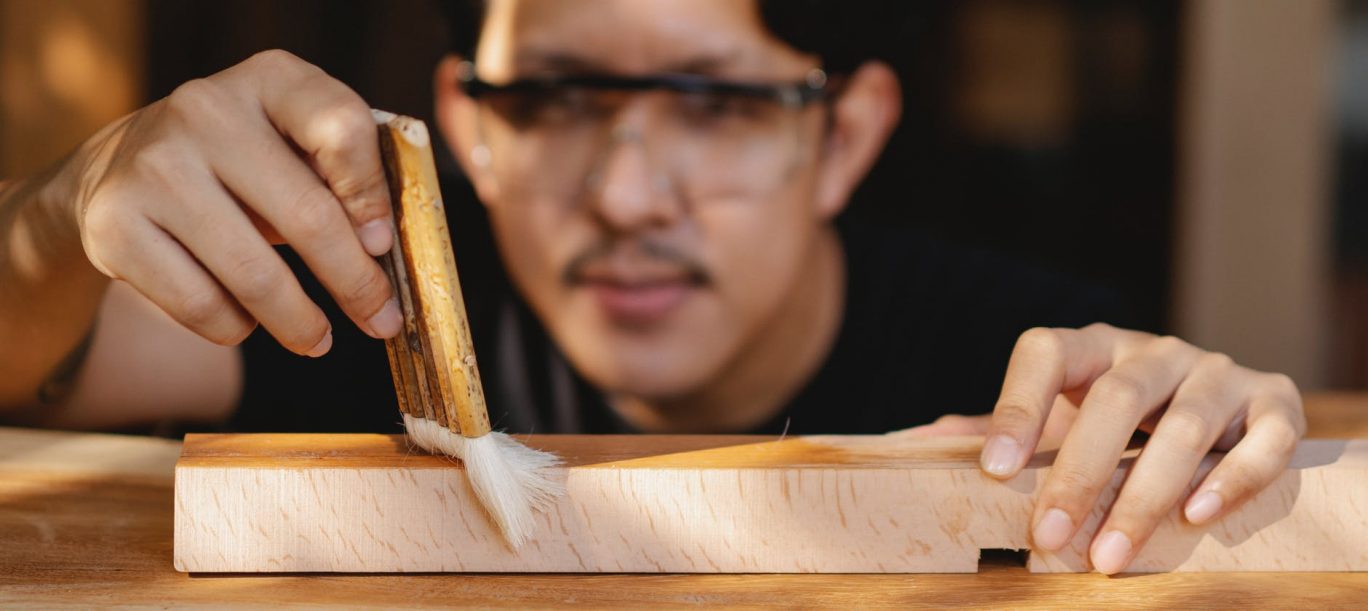
Step 7: Sand and finish the board.
Once the glue has hardened, get sandpaper or the electric sander to polish the board surface.
The sander should start with 80-grit and then work up to 120-grit. It will move over the board surface to polish it smoothly and evenly.
Add wood finish on the surface and allow it to dry. Go for the finish you like and only apply a thin layer on the board. This step is to cure the wood and enhance its final look.
This video recommends some wood finish options. Check it out and determine your favorite.
https://www.youtube.com/watch?v=bbiXJd_1l8Y
Conclusion
You can create a beautiful chess board with some wood pieces and some wood glue to stick them together.
This DIY project is simple for most of us. If you like to make things on your own, try this one. Playing chess on your unique board is a great experience and indeed brings you joy.
Hopefully, you will find this article helpful. For any further information, please feel free to ask. Thank you for reading!