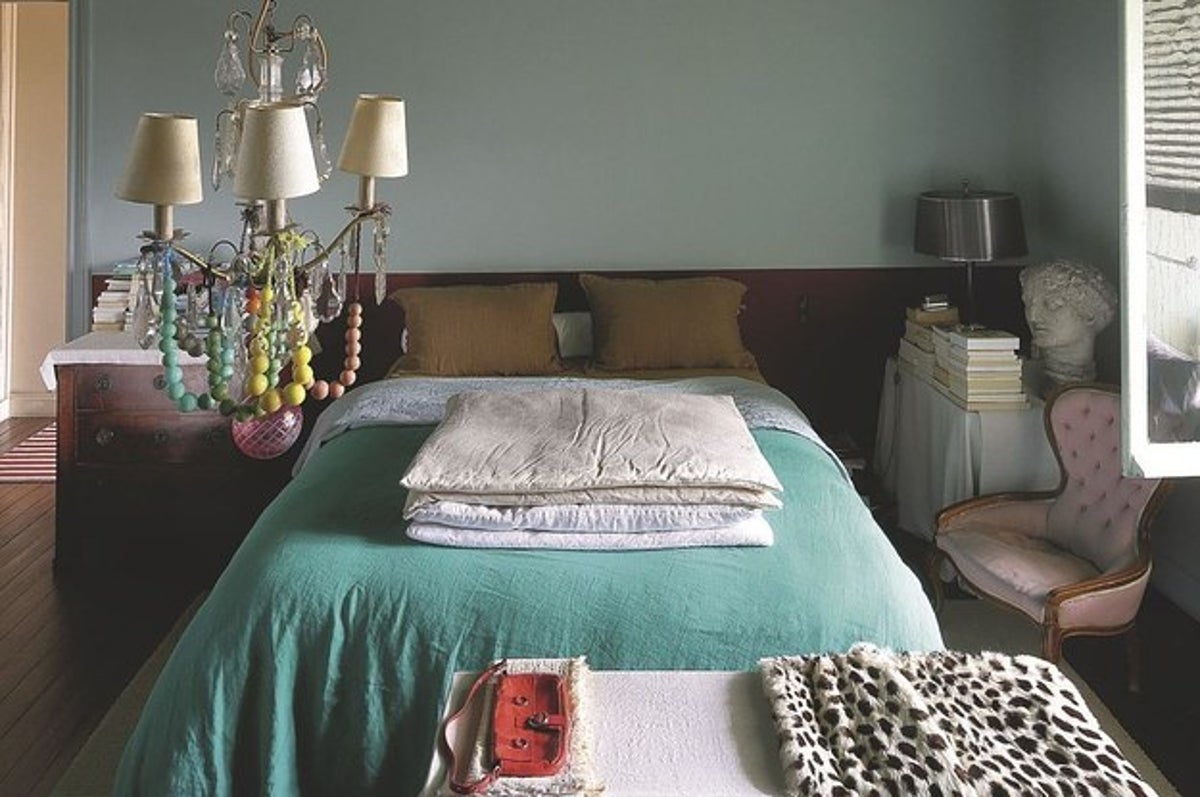
In the midst of a period of confinement, it is good to take care of your interior to feel good. The decoration of the bedroom often takes second place to that of the living rooms. However, with little money, it is possible to make this room a cozy and stylish space. And be able to recharge your batteries, more than necessary in these times of coronavirus.
How can you do it? By surfing on the DIY trend.
The bloggers and influencers have understood this! Decorate your room without breaking the bank thanks to this digest of their best DIY ideas.
Take a multicolored tassel rug, an origami garland, and a wool blanket, and you’ll get a unique bedroom decor you won’t want to leave in the morning. Looking for an easy dream catcher? You will find your happiness in our selection of 7 DIY made by bloggers.
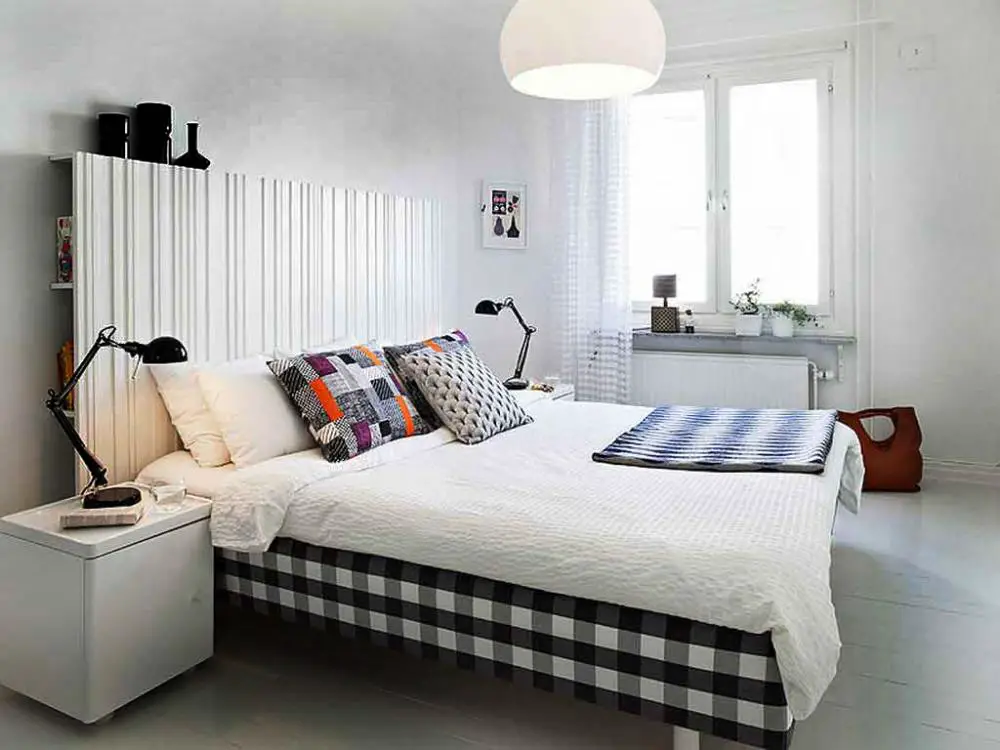
1 – A custom bedside table with wallpaper
No need to spend a fortune on a stunning bedside table. The blog shows you how to “spice up” a cheap nightstand. All you need is some original wallpaper and white paint to turn a basic model into a trendy nightstand.
Materials to make this DIY:
– A basic bedside table
– White paint for wood
– Wallpaper
– Wallpaper paste
How to customize this bedside table: Paint the bottom board white, making sure to protect the parts that should not be painted. Glue the wallpaper and put it on the top board.
2 – Ethnic cushion covers
Creator of the pattern, She uses her sewing skills in decoration. She made her own cushion covers in an ethnic fabric and, to play the bohemian card, she embellished them with multicolored pompoms. If you can’t find what you’re looking for in stores either, Materials to make this DIY:
– 1,50 m of fabric
– 8 pompoms
– 1 m of ribbon
– A needle
– Some thread
– A special fabric chalk
– A ruler
How to make these pillow covers: Measure your pillow. Transfer these measurements to your fabric folded in half, adding 4 cm to the length and width.
Cut the fabric according to the pattern you just prepared. Using an iron, prepare your hem at each end of the rectangle. Sew your hems together with a zigzag stitch. To create the flap of the cover, fold one of the two ends right sides together for four inches.
Stitch all around the flap 1 cm from the edge. Clip the corners and then fold the flap right side out and press it. Fold your rectangle in half so that the front is the width of your pillow. Stitch 1 cm up and down to the flap. With embroidery thread and a needle, attach the pom poms.
3 – A knitted walking lamp
If you’re looking for a stylish DIY bedside lamp, the knitting lamp. This DIY will also be an opportunity to learn the basics of electricity but don’t worry, our blogger will explain everything in
Materials to make this DIY:
– A “ball” bulb
– A male plug
– A cable
– Fluorescent wool
– A mechanical knitting machine
How to make this light : Using a mechanical knitting machine, make a 5 m cord. Protect the end of the electrical cable with plaster and thread it through the knitting machine.
With a cutter, remove the sheath around the wires over a few centimeters. Strip the two wires by 1 cm and twist the copper wires so that they are joined together. Open the male plug. Thread the plug cover over the cable.
Attach the two wires to the plug slots. Tighten the screws to hold them in place before closing the cover. Next, open the socket and thread the top of it onto the other end of the cable. As before, make the connections and screw tightly.
4 – A Scandinavian swing shelf
To highlight your pretty knick-knacks, from Design blogger suggests you make a hanging shelf. In addition to being trendy and practical, this Scandinavian-inspired shelf is much easier to make than it looks! Follow the blogger’s step-by-step.
Materials to make this DIY:
– 3 wooden boards
– Cotton string
– A ruler and a level
– Pegs
– 2 hooks
– A drill with a size 5 wood bit
How to make this hanging shelf: Drill a hole in the wood at each corner of the first board, placing a mark at 3 cm. Do the same with the other two boards. Drill two holes in your wall and place the pegs and hooks in them.
Cut the rope into two 4 m pieces. Make a loop by knotting each of the ropes. Use these loops to secure the rope in the hooks. String the beads onto the rope and then string the shelves. Secure each time with beads and a knot.
5 – Hanging pictures
How about hanging your photos in the bedroom, rather than letting them sleep deep in your computer. Coralie, from the blog, shows you how to make a 100% deco hanging with branches. We love the recycled spirit of this DIY and the little touch of greenery in the Urban Jungle style.
Materials to make this DIY:
– 2 pieces of wood
– thin string
– black and white string
– 2 air plants
– polaroid photos
– mini clothespins
– a cutter
– cardboard sheets
– glue
– adhesive pads
How to make this hanger: Cut out polaroid templates from the cardboard sheets. Glue together your two pieces of wood.
Tie the string around the branches to attach the hanging to the wall. Cut out the pieces of string and tie them to the pieces of wood. Hang your pictures with clothespins. Attach the air plants to the polaroid templates using Patafix adhesive pads.
6 – A wooden clothes rack
With this clothes rack. no more clothes lying around in the room! All you need is a cheap wooden rack and good white paint to transform a basic rack into a sleek rack with a Scandinavian look.
Materials to make this DIY:
– A basic wooden rack
– A can of white paint
– A brush
How to customize this rack: Paint the elements you want to paint white. Apply 3 coats of paint, allowing the time indicated between coats to dry. When dry, assemble the rack.
7 – A wool blanket for winter
For a cozy bedroom, nothing better than a wool blanket over your comforter cover. Entirely knitted with foam stitch, this blanket is also for beginners. Be patient though!
Material to make DIY:
– Balls of wool n° 4 (brown, beige, yellow, coral and white colors)
– Knitting needles n°4
How to knit this blanket: To make this blanket, Emilie knitted 150 stitches and knitted in moss stitch, changing colors every 46 rows.
8 – A multicolored tassel rug
This is the “it” rug of the moment: the tassel rug! But no need to break your piggy bank. You can make it yourself. And maybe even get the kids involved in making the pom-poms. Caroline, from the blog Carofoliz, explains how to make this rug. A smaller version is possible for the less patient.
Materials to make this DIY:
– A canvas of the size of the carpet you want
– Lots of wool
– L size pom-pom machines or cardboard
– Scissors
How to make this pom-pom rug: Make your L-sized pom-poms in different colors, making sure to keep two long strands hanging from each pom-pom. Hang your pom poms on the canvas by threading the threads through the holes and tying them in the back. Cover the entire canvas.