In crafts, you can make anything, even shutters! Shutters can be a practical or decorative addition to windows. There are many reasons why they are a great option for window treatments. From a decorative standpoint, they are versatile because they can be customized to fit any design style.
Wooden shutters can suit almost any theme, from rustic to minimalist. They also enhance the appeal of the home. In addition, they have practical features.
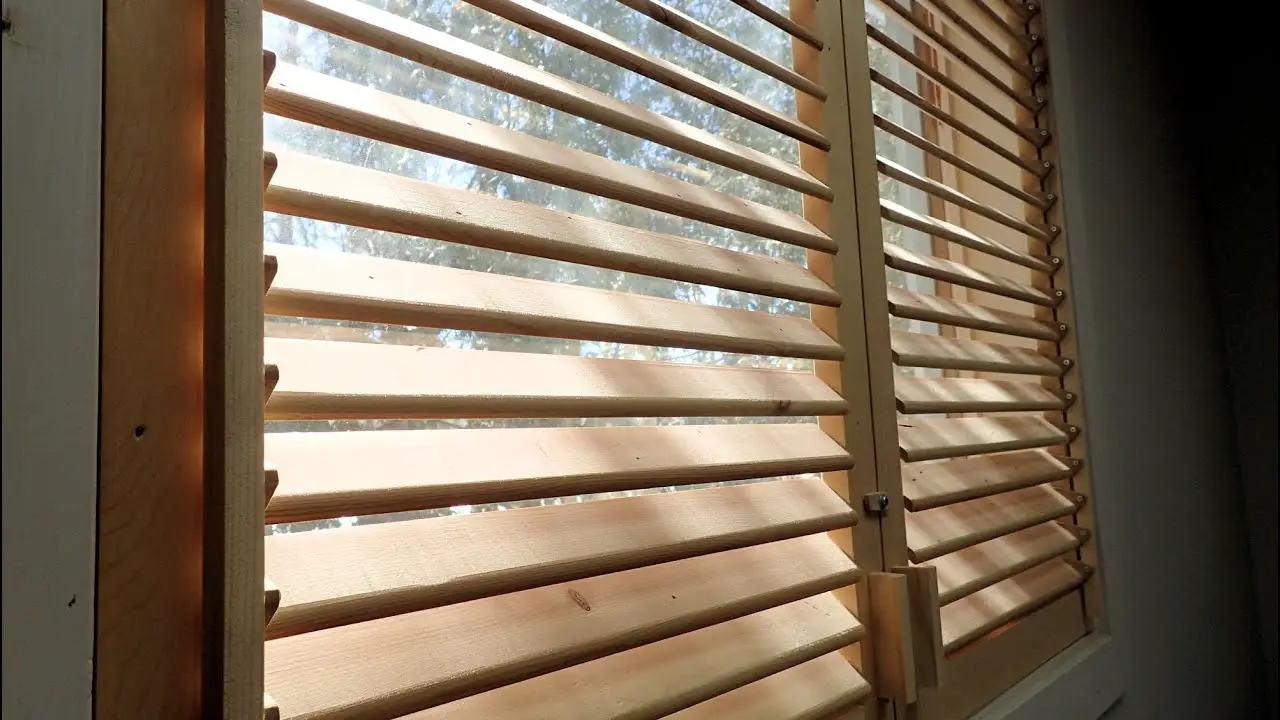
Exterior shutters protect the home from heat gain, sunlight and polluted outdoor air. In addition, by adjusting the slats of the shutter, it is extremely easy to filter the amount of light in the room. They also provide privacy and security.
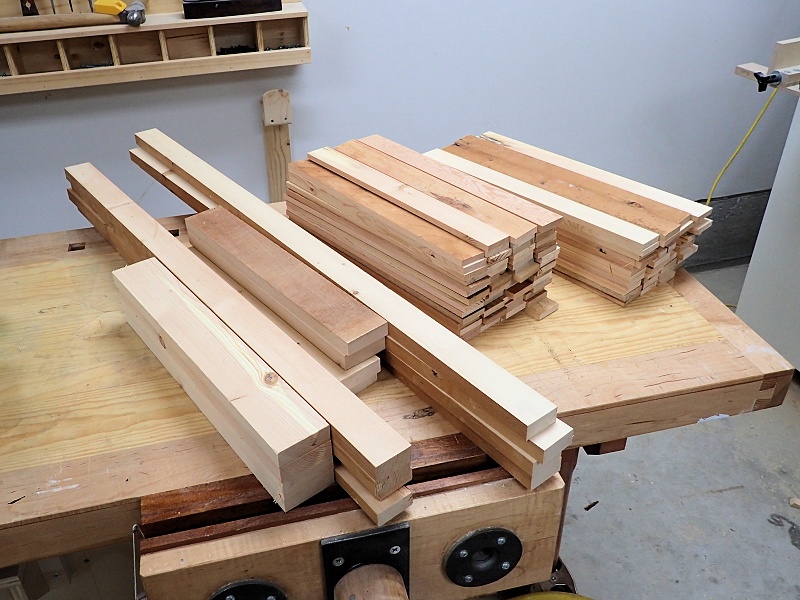
However, most people hesitate to install wooden shutters because of their cost, but it is easy to make exterior window shutters without spending much. All you need are wooden slats, tongue and groove boards, and a few essentials from your DIY tool kit, such as wood screws, hinges, and metal plates, as well as a power screwdriver and a saw.
This tutorial will help you create wooden shutters, and may inspire you if you are looking to make pvc shutters or aluminum shutters.
How do I make my own wooden shutters? Measure the window
After measuring the window, cut the tongue and groove boards to size. Based on my window measurement, I decided to make two shutters and use seven boards placed vertically on each.
Check the alignment of the boards
Place the boards next to each other to make sure they are aligned. If not, you can use the saw to adjust the length and make them even.
Cut the support pieces
Next, cut four slats of wood slightly smaller than the width of the shutter. Also cut two pieces at a 45 degree angle at each end. These will be placed diagonally between the small boards to support the shutters.
Attach the small and angled battens
Now attach the small wooden slats to the shutters, placing one across the width, a few inches from the top and bottom. Next, attach the sloped battens between the top and bottom battens to provide strong support for the shutter structure. This should be Z-shaped.
Attach the metal plates
Add a metal plate to connect the board that will hold the hinges to the rest of the shutter to make the structure more secure.
Add the hinges
Next, attach the hinges along the edges of the shutter.
The back of the shutter
This is what the back of the shutter should look like after you attach everything, including the hinges.
Turning one of the shutters over
Next, you need to add an overlapping board to one of the shutters. To do this, flip one of them over so that the outside or front side is facing up.
Adding the cover board
On one side of the flap, attach the cover board along the inside edge. The purpose of the cover board is to cover the space between the sashes when they are closed.
Attach the hinges to the window frame
Finally, attach the hinges to the window frame, making sure that you can open and close the shutters smoothly and that they are secure.
Interior or exterior window shutters – which to choose?
There are several factors to consider before deciding to install exterior or interior window shutters.
The design I’ve shared here is best suited for exterior shutters. Understanding the pros and cons of each type will help you decide whether to make DIY shutters for the outdoors using this tutorial or explore designs for indoor shutters.
Benefits of exterior shutters
- They block views from the outside, reducing the risk of vandalism.
- Exterior shutters offer excellent protection in areas subject to extreme weather conditions. For this reason, they are often referred to as storm shutters. Even in the UK, where the risk of tornadoes or hurricanes is low, they can protect fragile windows from strong gusts of wind.
- When made with high-quality wood treated to resist sunlight, moisture and wind, and to prevent warping or rotting, they can enhance the appeal of the home.
Benefits of interior shutters
- In terms of design, they are more versatile than exterior wood shutters because they can be customized to fit different design themes.
- They last longer because they are not exposed to the weather.
- Many interior shutters are equipped with louvers, making it easy to control ventilation, noise and light.
- They are a great alternative to blackout curtains if you opt for solid panel shutters.
So which type will you choose for your home?
Wood is a popular material for crafts, it can also be used for furniture such as a folding table or a wall shelf.