Ceiling fans are must-have machines for millions of people or homeowners. Without the ceiling fans, we cannot imagine the world. These are very effective in keeping the room cool and comfortable. These ceiling fans are used in millions of homes because most people cannot afford air conditioners. Without ceiling fans, some people cannot sleep.
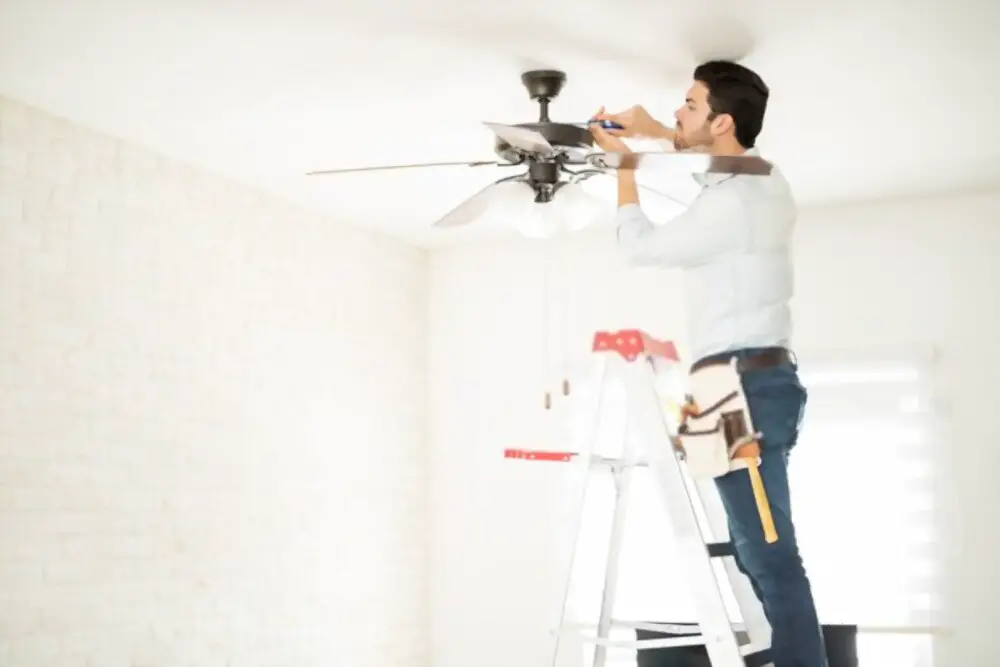
Sometimes we need to change the ceiling fans because they might be outdated or not wholly working. Sometimes you need to clean the ceiling fans as there is a lot of dust. Whatever the reason, maybe you need to take down the ceiling fan. So let us discuss how to take down a ceiling fan.
Before removing a ceiling fan, you need some things. Some tools may depend on the type of ceiling fan you are using.
Things you need:
- A step ladder
- A screwdriver
- A tester
Removing a Ball and Socket ceiling fan:
- First, you need to turn off the power.
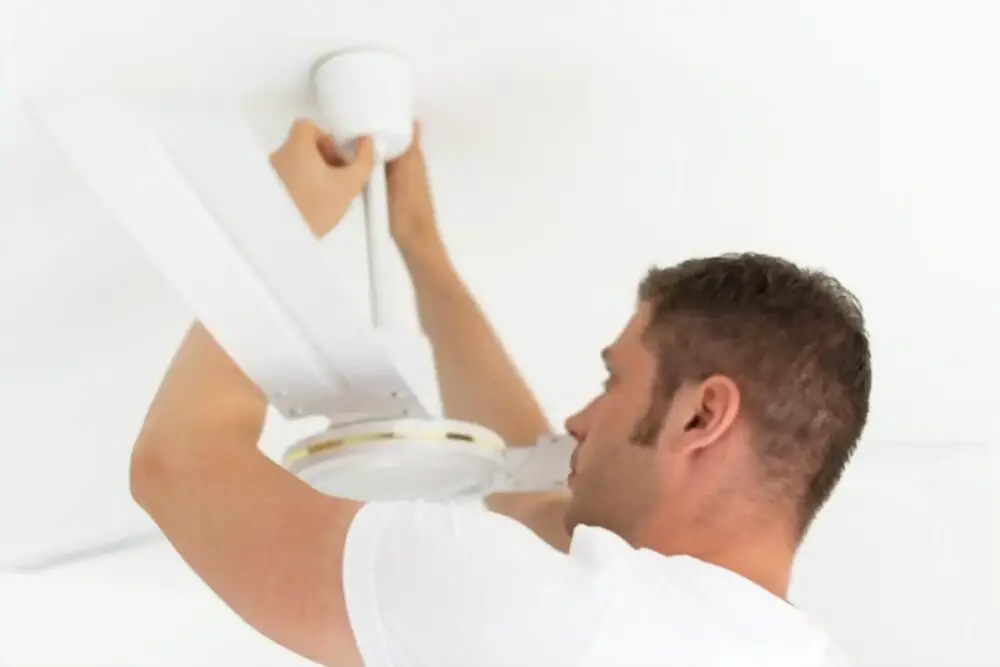
- Use a step ladder and remove the canopy. Unscrew the screws to remove the metal canopy. You need a short screwdriver to reach the screws. Lower the canopy and remove the fan.
- Using a tester helps you to find that there is no electricity running through the ceiling fan.
- Remove the nuts and wire nuts. Put the nuts back on the wires. This will prevent any accidents caused when you power on the fan.
- Hold the fan tightly and move the ball to the top of the fan poll.
- Bring the fan to the ground or pass it to your friend if they are helping you.
- Unscrew the screws and remove the mounting bracket. Don’t put the screws anywhere; otherwise, they might be lost somewhere.
Removing a Flush Mounted ceiling fan:
- First, you need to turn off the power.
- Use a step ladder and remove all the lights and the bulbs.
- If your fan has a light set or kit, then remove it too. The removal of the light kit may vary from one model to another. Unscrew all the screws and remove or disconnect the wires. Use a tester to make sure that there is no electricity in the fan.
- Use a screwdriver and remove the blades of the fans. Most of the fan blades have two sets of screws. One is attached to the bracket, and the other is attached to the fan body.
- Unscrew the screws that are holding the body of the fan. Ensure that you have a tight grip on the fan.
- Unscrew the screws while the fan is still hanging to the hinge.
- Remove the wires and disconnect them.
- Remove the fan from the hinge, put it on the ground, or pass it to your friend if he helps you.
- Next, remove the mounting bracket of the ceiling fan. Do not put the screws anywhere as they may be lost somewhere.
From the above topics, you have learned that removing a flush-mounted fan is slightly different compared to the average ceiling fan. But some of the steps are the same. Always follow the safety precautions while taking the fan.
Safety tips:
- Always turn off the main switch or the switch that is related to the fan or that area.
- If you are using an old model fuse, it is advised to remove the fuse.
- Place a note on the distribution box to let the electrical workers know that you are working on the circuit.
- Using a tester helps you to check whether the circuit is dead or not.
- Use rubber shoes or boots to prevent electrical shocks.
- Use high-quality tools. If you use low-quality tools, they may be broken while you are working and cause some accidents.
- Always use the tools that are rubber coated.
Conclusion
Always follow safety measures while you are working with electrical appliances.