Drywall anchors are convenient for a variety of purposes. For example, you can put anything on a blank wall without hitting a stud if you’d rather be safe. You may also hang heavy stuff without worrying about it falling. However, how to remove drywall anchors easily?
It’s possible to pull it out, back it out, chop and hammer it, and so on. But, of course, it all relies on your degree of comfort and the anchor’s obstinacy.
We have listed some methods to help you remove your drywall anchor without effortness. Let’s check it out!
What Are Drywall Anchors Used For?
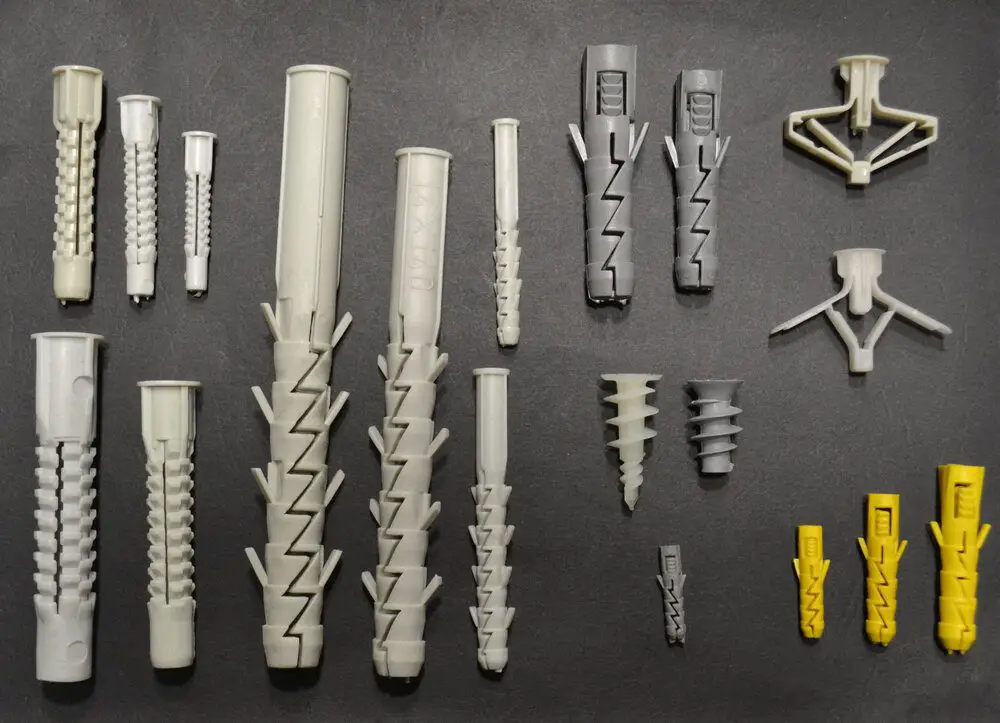
A drywall anchor is used to hold framed portraits, clocks, mirrors, and shelves in place on the wall. Screws and nails are not designed for drywall, paneling, or tiling. Without the added strength that an anchor offers, they can fall out of these walls.
How To Remove Drywall Anchors?
Fortunately, there are several options for removing a trapped anchor from the wall. It’s possible that when you remove the screw, the anchor will pull off the wall, although this is unlikely.
You can rely on the instructions in this video to better understand how to remove drywall anchors.
These methods can let you remove even the most stubborn drywall anchors from your wall. After that, all you need to do is fill the hole with a bit of super glue.
Before starting, you must first acquire the necessary tools. For example, to remove a wall anchor, you’ll need the following tools and materials:
- Hammer
- Screwdriver
- Electric drill
- Protective goggles
- Needle-nose pliers
The more equipment you have to do the task, the easier it will be. You don’t have to start climbing onto a ladder or step-stool only to have to descend again to obtain another tool.
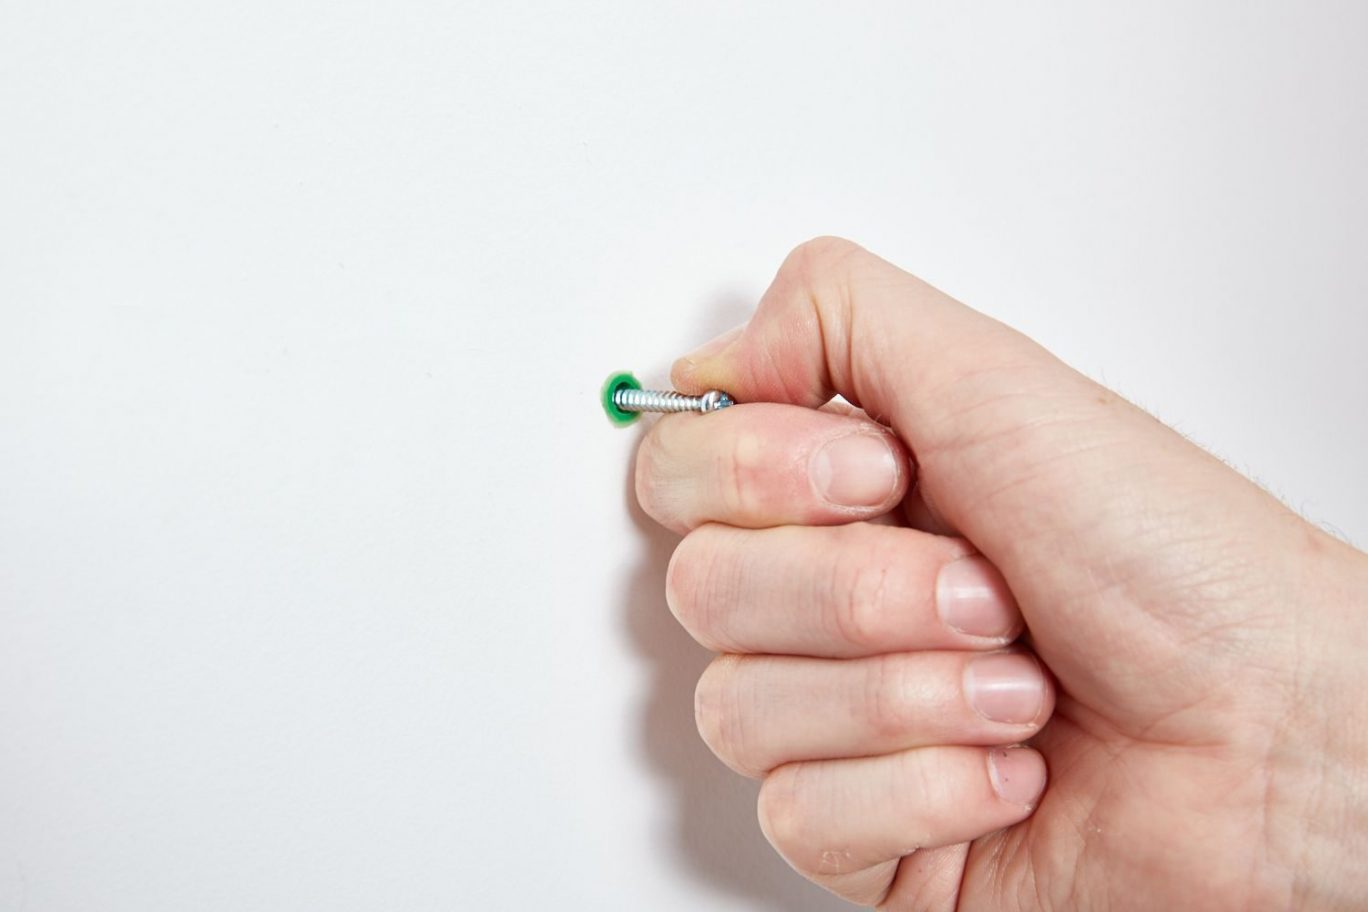
Pull Out The Anchor
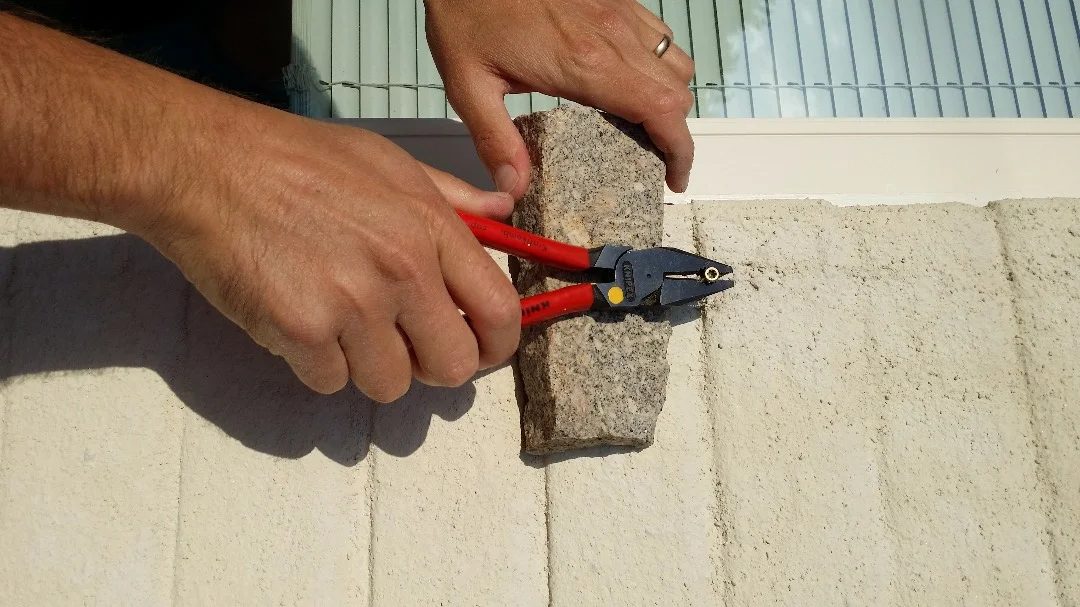
You’ll need your needle-nose pliers for this stage. All you have to do is carefully grasp the anchor’s collar or head with your pliers. Move the wall anchor back and forth, wriggling it as you rock it back and forth.
This step is enough to get the anchor off the wall. But do not force the topic if it is still safe.
If you keep pressing the anchor, you risk damaging the wall and producing a wider hole than where the anchor is. So after that, you’ll want to go on to the following stage.
Back Out The Anchor
If you’ve tried wriggling the anchor out but haven’t been successful, the following approach is the most often used for anchor removals. Take a screwdriver that will fit snugly within the anchor’s mouth.
Once it is in position, use a hammer to press the screwdriver head deeper into the anchor. Twist your screwdriver counter-clockwise once it is securely in place.
At this stage, you must slowly but steadily back the drywall anchor out. Then, the anchor must finally come away from the wall altogether. If the anchor rotates but will not back out or will not move at all, you’ll need to take further steps to get it out.
You wouldn’t want to push the problem, just as you do not want to push the anchor with the technique above. It may cause a wider hole in a wall, allowing for a more extensive repair job.
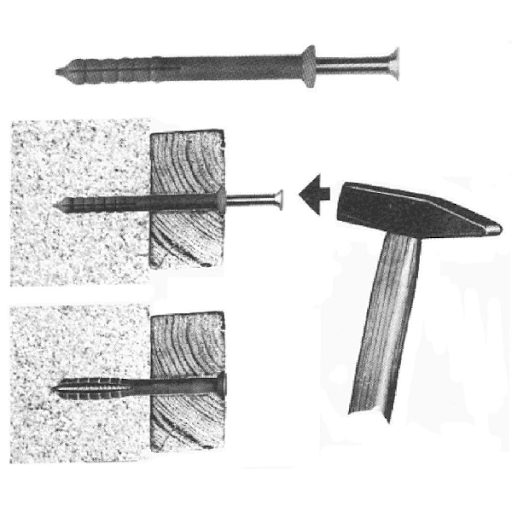
Cutting And Hammering

You’ve reached the point where you need to use more severe methods to remove a wall anchor. However, this does not imply that you have concluded your journey.
Before you begin the following step, put on your protection eyewear since there will undoubtedly be drywall debris in the air. Next, use your electric drill to install a 1-inch cutting wheel. From here, you’ll need to cut the anchor’s head or top off.
Make sure you don’t leave a divot or gauge in the drywall; you’ll have to fix it if you do. Instead, wrap a large nail into the anchor’s mouth.
Hammer the anchor into the hollow wall with your hammer till it drops back into place. If you do not have a chopping wheel, you can slice the drywall around the anchor head using a putty knife.
Recess The Anchor
If you’ve got many drywall anchors for dealing with, recessing them could be the best option. If the drywall is fragile or water damaged, you may need to explore this alternative because removing it might be challenging.
Using a utility knife, score the drywall across the anchor head. Then, right above it, place a screwdriver with a broader head than the anchor’s mouth.
Lightly hammer the head, but notice that you’re square to it. Remember to sink the anchor at least halfway through the wall.
When the hollow anchor is below the drywall’s surface, you may repair it using a joint compound. To discover how to glue over a sunken drywall anchor, keep reading.
How To Patch Over Recessed Drywall Anchor Holes?
The holes left behind after eliminating the drywall anchors might be unattractive. Fortunately, it is a simple remedy.
If you want to patch over a sunken drywall anchor, you can utilize this approach. The distinction here is that the anchor remains inside the wall when removed in other instances.
Patching is simple in both situations. All you have to do now is get some drywall compound and fix the hole as you typically would.
Flatten The Edges
When mending recessed drywall anchors, the first step is to smooth the borders surrounding the hole. All you’ll need is your hammer and some caution to complete this task.
You do not want to enlarge the hole or add to your workload. Instead, tap softly around the borders of the hole with your hammer.
You must see that they begin to bend until they are flattened and level with the wall. Make sure to clean up any residual drywall dust to ensure that your compound for drywall adheres appropriately.
Apply Drywall Compound
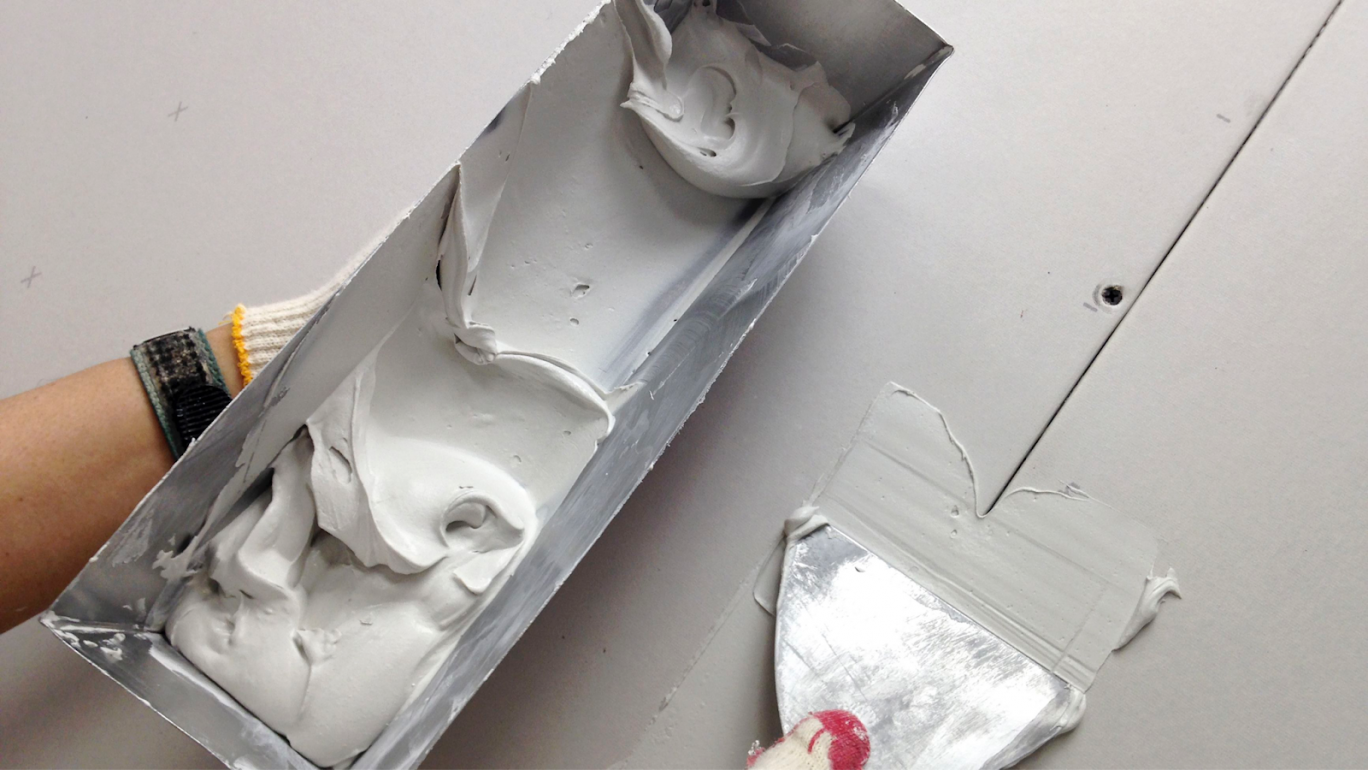
It’s possible to start applying your drywall compound once you’re sure the hole’s borders are flat with the wall and free of drywall dust.
Some drywall treatments come in a variety of dry white and colors, allowing you to see where you’ve applied it as well as when it is ready to paint.
Apply just enough to fill the hole and move in an “X” pattern over the area to be repaired. You’ll need a knife to properly spread the compound well over the hole to complete this operation.
Ensure that any extra drywall compound is removed during the procedure. It may be necessary to leave it to dry overnight, based on the recommendations.
Notice that you read the back of the package and allow enough time for the mixture to dry.
Sand The Wall
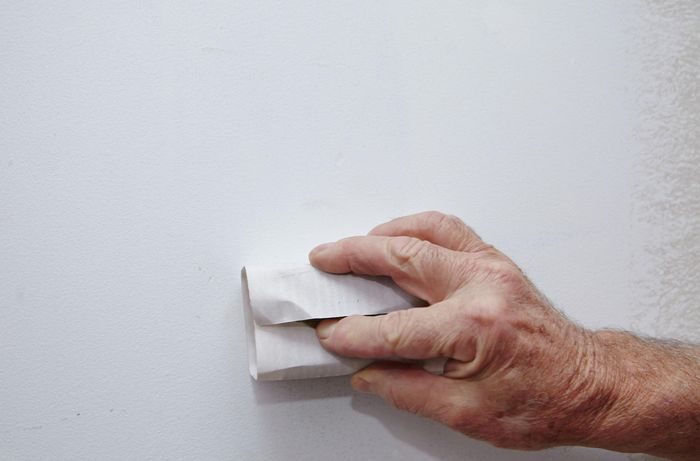
It’s ready to sand the drywall compound once it’s been allowed to cure completely. To finish the work, use medium grit sandpaper. After all, you do not want to scrape away all of the solutions and end up having to reapply them.
Sand the area until it is entirely smooth to the flush and touch with the wall. It may take some time to become used to how to shave these places so that you can make an even coating.
You could discover that you didn’t cover everything the first time and need to reapply. Then, all that is left is to wipe away and paint once you’ve done sanding the gaps.
Remove the dust that has accumulated in the sanded area using a moist dust cloth. You may next choose a paint color that matches your wall to patch up those places.
If you do not have the old paint, the last stage might be difficult. Your paint may not match, resulting in off-color patches on your wall.
Frequently Asked Questions
Here are some frequently asked questions that we have collected while researching this field.
1. How To Choose The Right Size For Drill Bits And Screws?
You may buy the drywall anchors separately from the screws, but if you do not have an extensive range of screws available, it’s best to buy anchors that come packed with the right size screws.
If you want to buy the screws and anchors separately, the appropriate screw size will be listed on the box. If the anchor you choose needs a pre-drilled hole, the package will also include the appropriate drill bit size.
2. Do All Anchors Require The Same Holding Force?
Wall anchors are available in a variety of styles, sizes, and holding capacities. Therefore, producers are not obligated to mention the holding power of their anchors on the packaging or in the accompanying documentation.
Furthermore, different types of wall anchors are linked with different levels of holding force. As a result, always utilize an anchor with a gripping force equal to or greater than the weight of the stuff that you are hanging.
3. How To Unscrew A Screw From An Anchor?
If the screw is spinning with the anchor, you may generally release it by keeping the anchor firm using needle-nose pliers while loosening the screw. As long as the anchor’s rim is visible, you may accomplish this. Then, while backing it off, work the points of the pliers from around the rim and press hard.
Conclusion
Knowing how to remove drywall anchors is a valuable skill that will save you time and money in the long run. When scoring, hammering, and prying the anchors out of your wall, notice to use just enough power.
Hopefully, this article is beneficial to you. Thanks for reading!