What tools do I need to carve a spoon?
- Axe
- Hook knife
What is the best wood to carve a spoon?
Cherry – a little bit harder but a lovely grain, you can also get two tones.
How do you make a wooden spoon for beginners?
Steps involved in making wooden spoon,
- Draw a rough outline of the desired spoon on a piece of wood.
- Cut out the outline of the spoon.
- Use a rounded gouge to carve out the bowl of the spoon.
- Shape the outside of the bowl and handle.
- Sand the wooden spoon.
- Apply a food-safe finish and enjoy.
How long does it take to carve a spoon?
Some spoons take about an hour, depends on style and details the duration stretch up to 80 hours too.
How to carve a spoon?
If you are a novice in the field of woodworking, then you must first know making wooden spoon. The tool is essential in spoon making because it is the core material of the whole activity. It is where the majority of the finished products will be derived from. Thus, it is of utmost importance that we master how to make a wooden spoon as it will also determine how successful and profitable we can be when engaging in such a craft.
The tool is made out of a hardwood known as ash. The wood is very hard and because of this reason, it is capable of holding its shape for longer periods than the usual woods like pine and cedar. It also can withstand the normal wear and tear that comes with usage.
It is how to make a wooden spoon. First, you have to gather your tools and materials. You need to make sure that you gather them before you start building the spoon.
Second, the mixing of the wood is done. You need to do this to make sure that all the parts are mixed well and that no air bubbles escape during the mixing process.
The last step is to form the mould or form into whatever shape you want to make.
The first step on how to make a wooden spoon, The second step is the shaping of the piece. The object needs to be formed into different shapes and sizes and it is best done by gently rubbing on a surface until you get the desired results. It may take some time but with patience and constant practice, you would eventually get the right shape.
Once the shape is achieved, you will now need to paint it. The colour you choose should coordinate with the rest of your furniture. Another thing that you need to consider is its polish. Polishing the wooden spoon can be done through sanding and cleaning. It is recommended that you do it regularly.
Once it is done, you will now need to dry the spoon. The best thing to do is to let it dry naturally. The drying should be done in an area where the temperature is not too high. It is to ensure that the wood does not crack or break when it is exposed to too much heat.
How to make a spoon is not that difficult if you know what you are doing. There are many resources online that can help you. You just have to be resourceful and patient to achieve your goal of creating a wonderful looking wooden spoon.
Now that you have a spoon made of wood, you can use it for serving food or as part of decorative materials in your home. What you will need are some wood glue and a wooden handle. It can be very easily done at home. The secret behind it is the fact that you only need a very simple recipe.
Now you have completed the process, what are you waiting for? How to make a spoon is not that difficult after all. It takes you only a few minutes of your time. You will need the same ingredients that were mentioned earlier. What you need to do is just apply the glue on the wooden handle of the spoon. Then, you should wait for it to dry.
After it dries, you can start learning how to make it into a decoration. You can decorate it by painting it with colour. However, you can also just leave it as is. After the painting, you can dry it with a cloth and then polish it. It will make it look more beautiful.
Now you can use it for various types of food. Spoons are not only used for eating. They can also be used to stir soups and to make drinks. Another thing that you can learn how to do is pouring sauces. You can also use it for beating egg whites.
All these things can help you understand the process of learning how to make a spoon. As you continue to practice, you will surely master the skill. So you don’t need to have a boring spoon. Make one now!
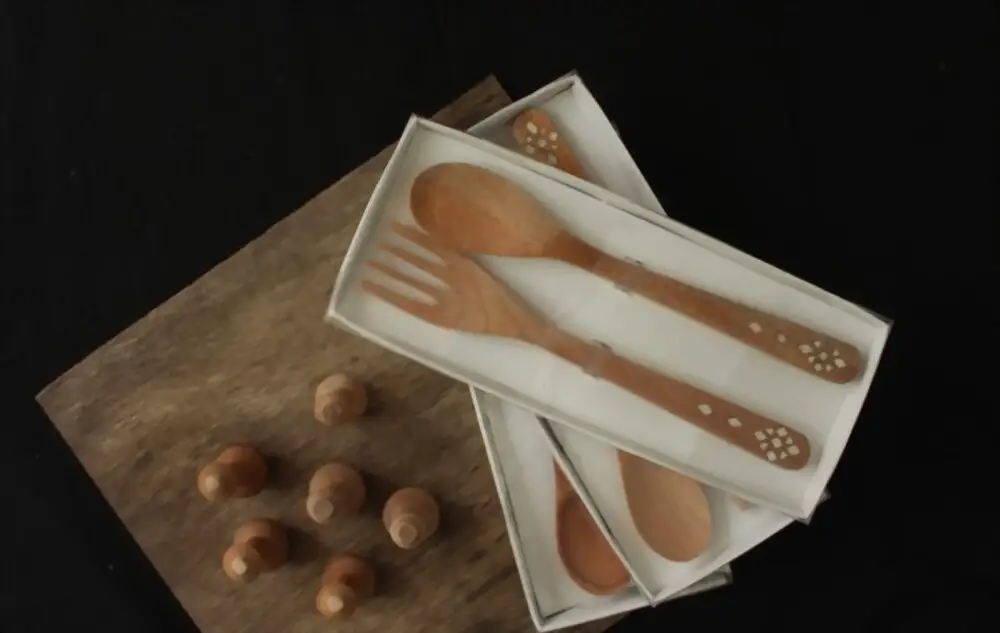
Carving a wooden spoon or spatula is a fun woodworking hobby that results in a functional piece of art. The design and style possibilities of spoons and other kitchen utensils are endless, allowing you to be very creative. Spoons make excellent presents and when priced appropriately, they can be quick sellers at art and craft shows. In most cases, a wooden spoon can be finished in about one hour. So get out your whittling knife or your power carver and let’s create a spoon!
There are many ways to go about “carving wood spoon.” To meet your style and your tool selection, So here in this DIY wooden spoon article, you will find the section walks through creating a spoon using only some simple hand tools. Some spoons take about an hour, depends on style and details the duration stretch up to 80 hours too. So, if you decide on stock, then it is simple to proceed with.
Stock Selection
In this DIY wooden spoon article we are going to look for Wood materials. Wood is a fantastic material because it is so diverse, and every piece you make with it has its own story to tell. Spoon carving celebrates every aspect of the tree; how it is grown, where it is grown and how old it is. These all make a difference to the wood, which makes them important to understand the different types.
Best Woods to Get Started With Spoon Carving
When starting your spoon carving journey, it is best to start with less hardwood, such as; The best wood for spoon carving,
- Willow – easy to carve, common wood
- Cherry – a little bit harder but a lovely grain, you can also get two tones
- Birch – Himalayan birch is one of my favourites, close-grained and easy to carve
- Lime – traditional for carving figures in churches, lots of it in cities, easy to carve
- Alder – lovely to carve, soft, highly recommended if new to spoon carving
But there are so many more kinds of wood you should know and discover, as you progress on your spoon carving journey!
Unusual or rare woods
CONTINUS COGGYGRIA
Some herbaceous shrubby bushes have wonderful woods that are not commonly used. Continus coggygria is a shrub also known as a smoke bush, and it is a beautiful colour and has a lovely grain pattern. It is the best wood for carving wooden spoons.
MULBERRY
Mulberry is a beautiful wood, with pale outer sapwood, and darker yellow heartwood in the centre. It is quite rare and difficult to get hold of mulberry trees. They are garden grown trees, meaning they do not grow in the wild, and they can be hundreds of years old in the UK. And if you hear of anyone pruning a mulberry tree you need to get in there if you are a spoon carver!
SUMAC
Known for the Middle Eastern spice made from the flower buds of a closely related tree. There is a wonderful grain in the wood, which is a subtle greenish colour with beautiful rings. It is also a very nice wood to carve.
Spalted Woods and Two-Tone Effects
SPALTED BEECH
Beechwood is a lovely word to carve as it is very hard, and with spalted beech, you get markings in the grain. These are caused by a fungus being present in the wood. It can be something that the spoon carvers because you get these lovely wooden spoon patterns.
CHERRY
A favourite wood of spoon carvers is cherry. It is lovely wood often has beautiful grain colours and with spalted cherry, you can get lovely markings. You can achieve a two-tone effect because of the difference between the heartwood and the sapwood, which makes it a lovely wood to use. It is the best wood for spoon carving. It is the best wood for carving wooden spoons.
Roasting Woods: You can use roasting to unwanted marks in the wood, or to deepen the colour of pale wood or uninteresting grain.
HOLLY
Holly is a creamy white wood with a lovely close grain that roasts beautifully. Once hand carved spoons are ready, wipe evenly with a tiny amount of oil and bake in the oven at 180 to 200 degrees celsius for up to an hour, checking regularly for the desired colour. When it comes out hot, put on a bit more oil and you can get a fantastic dark tone. It holds the best wooden spoon patterns in it.
WILLOW
Although a brilliant wood for when you are beginning to carve because it is very soft and easy to cut, willow is not as aesthetically nice as other woods. Roasting improves it and makes it more durable, as long as you do not overcook it! It is the best wood for carving wooden spoons.
LIME
Similar to willow, lime is good for when you are learning to be a spoon carver but it is not a very remarkable wood. Roasting it gives it the dark, almost aged patina quality.
If making a stirring or serving spoon, It is recommended to find a piece of wood between 1/2″ (1.3cm) and 3/4″ (1.9cm) thick, and approximately 12″ (30 cm) in length, and 2.5” (6cm) in width. You can use any type of wood to create a spoon. However, a spoon made from hardwood like walnut, cherry, or maple will stand up better to the rough uses in the kitchen. Note: if you are new to hand carved wooden spoons, you might want to begin with a softer piece (e.g., basswood). Moreover, you might also want to read the article “Wood Carving: Basic Tips and Techniques“. On the other hand, if you are a little more experienced with carving, you might want to look for some stock that has a few bends and twists!
Depending upon your taste and desire, the spoon size might vary.
Design
Initially, create a template from cardstock. Good arms are usually not more than 3/4-inch wide and are often thinner. The bowls of serving spoons are usually about 2-inch wide and 3 to 4-inch long while stirring spoons are smaller, having bowls about 11⁄2-inch wide and not more than 3-inch long. Some people like arms with parallel sides, while others like ones that bulge at the end and taper toward the bowl. Serving spoons have broad, deep bowls but usually have short arms. Mixing spoons need shallow bowls and sturdy handles. There are many ways to go about “carving wood spoon.”
Once you have selected your block of wood draw a very rough outline of the spoon that you like to carve. It need not be detailed, as this outline will only be used to create the spoon blank. Drawing a profile of the spoon you like to carve from the side view on the block of wood is also useful, but not necessary.
There are endless different designs for spoons. Check out some galleries and get inspired. Things can get pretty crazy in the wooden spoon world!
Some things to consider in designing the spoons are:
- spoon size
- type of spoon head
- should it fit in my mouth?
- depth of spoon depression
- thickness and heft
- intended purpose – salad, soup, serving, nibbling, scooping etc
If the spoon you want to carve is smaller than the piece of wood you have selected, use a drawknife/ table saw to cut the chunk into a thinner piece so you have to remove less material by hand carved wooden spoons. down one face of the wood to make the layout lines easy to see. Draw out your spoon design on your stock, securing that the grain runs straight through the entire spoon. It might help to draw a centre line down the bowl of the spoon. Sketch out the inside of the bowl freehand, leaving a rim of about 1/16-inch.
Then, use the mitre saw to cut the chunk of wood to length at the ends of your spoon outline. It is called creating a blank.
Something fun to do is to create many blanks at once and then pass them out to your friends so you can all carve together. Bring some knives and it is a carving party!
Next, use a scroll saw to cut along your outline. I tried to cut as close to my spoon sketch as possible since that is less material to remove later. That being said, if you want to have more material to be creative with as you carve, give yourself a little more room when you cut.
You cannot go wrong by making your blank a bit larger and thicker than the intended finished spoon, you can always remove more material later.
If you want to spend more time carving – simply skip this step and remove more material by hand using the carving tools.
Dishing the bowl and shape the handle
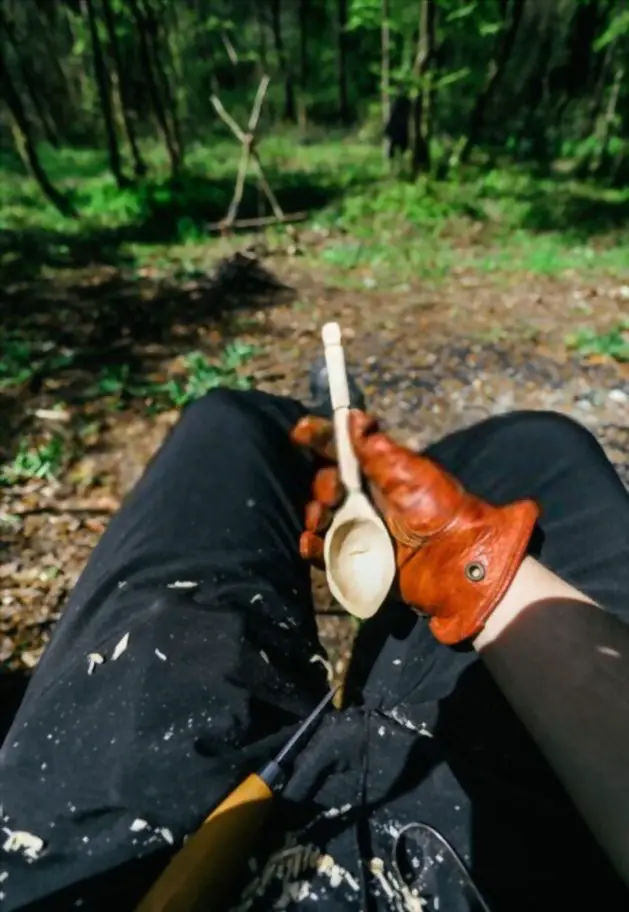
Finally, let us make some wood shavings! Now at the very beginning, it is useful just to get a feel for the knife and how it removes material from your spoon blank. Carving along the shaft or handle of the spoon is the easiest place to practice. Start by taking small strokes, removing small amounts of material, and carving away from yourself. While there are situations where you can safely carve towards yourself, in the beginning, it is easier to just carve away.
Think about removing small chunks of material strategically from the tops of curves. Carving down into notches is more difficult.
Diving the knife down usually results in a larger-than-intended piece of material cleaving off. Better to stay in control of the cut and carve along the top of the material.
Turning a square block-like blank into a smooth spoon takes time – as in, several hours. So, do not expect the spoon to take form instantly, instead, just stay with it and work slowly towards the goal.
As the spoon begins to take shape and you begin to round over some of the straight lines in the blank, it is time to start adding in more detail and making some basic decisions regarding:
- handle thickness
- how the handle tapers and fits your hand
- how long the handle should be
- how wide the spoon should be
- does the spoon have a curved or flat leading edge
- spoon head thickness
Shape the outside of the bowl
Once you have roughed out the handle of the spoon it is time to start working on the head. It is found easier to start with the convex back of the spoon rather than the dished out concave side.
Begin removing material along the edges of the blank and round out the spoon head to make a smooth transition from the back of the spoon to the rim/wall.
Keep rounding out the back of the spoon and creating a smooth continuous slope. On to the concave side of the spoon, use a rounded sweep gouge or hook knife to start removing material from the face of the spoon.
Remove small bits of material until you begin to form a small divot. Keep removing material digging out wood closer and closer to the outer wall of your spoon.
Alternated between gouging from the centre of the spoon towards the wall and working the tool down the wall of the spoon towards the centre. Different strokes for different folks and tired hands.
The hook knife was useful for shallow divots, but not very good at digging deep. That is where the sweep gouge comes in handy.
Finishing
After extensive hand carved spoons, it was time to smooth out the carving marks with some sanding. Use a small drum hand sanding attachment for a rotary tool, a 1-inch diameter 80 grit flap wheel and the small Dremel sanding heads to sand the inside concave dish of the spoon.
Hand sanding and a belt sander do just fine for the easier to reach back and handle of the spoon. After the mechanical sanding came a bunch of detailed hand sanding. Starting with 120 grit paper and working way up to 220 incrementally, sanded every nook and cranny of the spoon smoothing out any remaining carving tool marks and making all the surfaces pleasurable to hold and splinter-free.
Wrap-Up
Simple hand washing is best for wooden items. Blot freshly washed wooden utensils with a clean dish towel, then allow them to air-dry completely before putting them away. If your wooden spoons or cutting board start to look dry or do not feel super smooth, periodically rub them with mineral oil or a beeswax compound. Do not use food-based oil like vegetable or olive oil, since these types of oils can go rancid. And also do not let the spoon soak for a long time in the water.
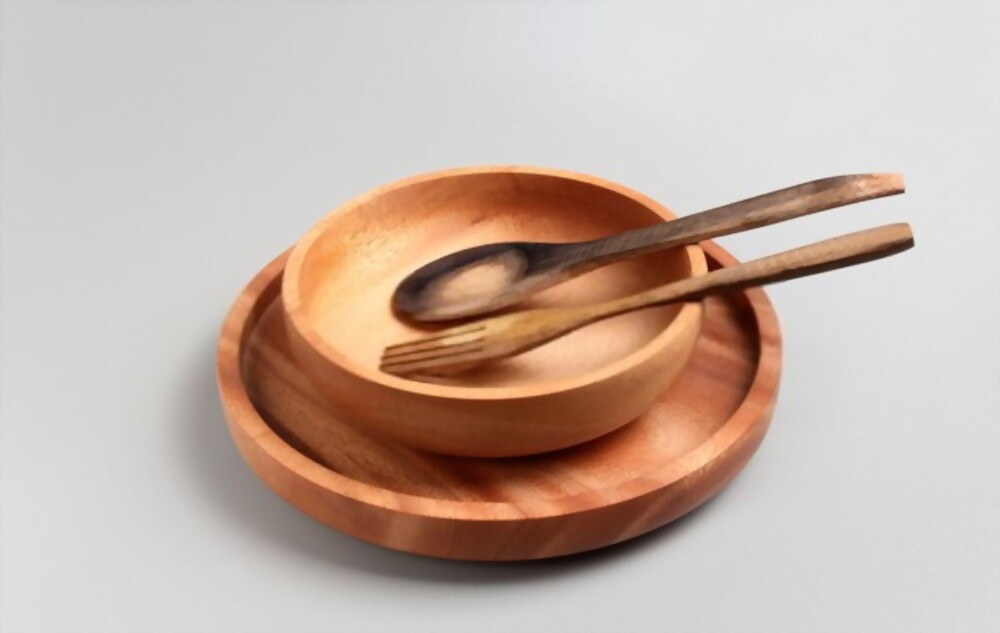
Homemade Wooden Spoon
The best durable and eco-friendly natural wood. It is natural wood colour and should fit with almost any decor. The texture is natural, so they do not look the same.
The homemade wooden spoons are safe to use on cups, dishes and bowls, will not scratch surfaces. It might not frostbite or scald your hands, no matter how cold or hot the water is.
- Clean in time after using. Do not soak in water for a long time to avoid dampness.
- Drying the water after washing, and storing it in a ventilated and dry place every day.
- Do not expose it to the sun. Keep it in proper use and maintenance.
- Do not wash them in the dishwasher.