An excellent hand-rubbed surface produces a pleasant and trained to see a bit of fitting. Seldom it’s just not possible to smooth on poly for several purposes. Or possibly you haven’t got and developed that method. Whatever the situation, you may be much off reading how to apply wipe on poly.
I’ve achieved the largest of the furniture I’ve made with wipe on poly. It’s simple, and it looks magnificent. The real downside is that the panels are so thin, it’s a gradual process. I regularly plan on completing a portion of furniture for a week. It doesn’t certainly have to get that great, but I wish to set on a finish at an appropriate time of the day, then let it merely for 24 hours. That goes for me; some people set on 2 or 3 layers in a day, which certainly would reduce the process.
I favor the wipe-on poly above a splash ending because I’m not fixed up preparing a shower finish, same lacquer. I don’t hold the wanted airing in my shop for spraying, and I don’t have time outside my home to fix it up. Plus, I’m concerned regarding overspray gliding onto nearby cars, and in my tight-knit community, that’s a reliable business. And relevant to a brush-on-finish, like conventional polyurethane, wipe-on poly is significantly easier to get appropriate. Yes, it also demands coats, and it’s a more extended process, but touching on poly is an art that I have not understood. I’ve prepared it, and it grows out good. But preparing an individual cuff to lay fur flat and mingle well with the earlier one is a bit stressful, and I prefer wiping it on. You literally can’t go opposite arranging it this method.
Here’s something I use if I apply to wipe on poly to a refined section of furniture:
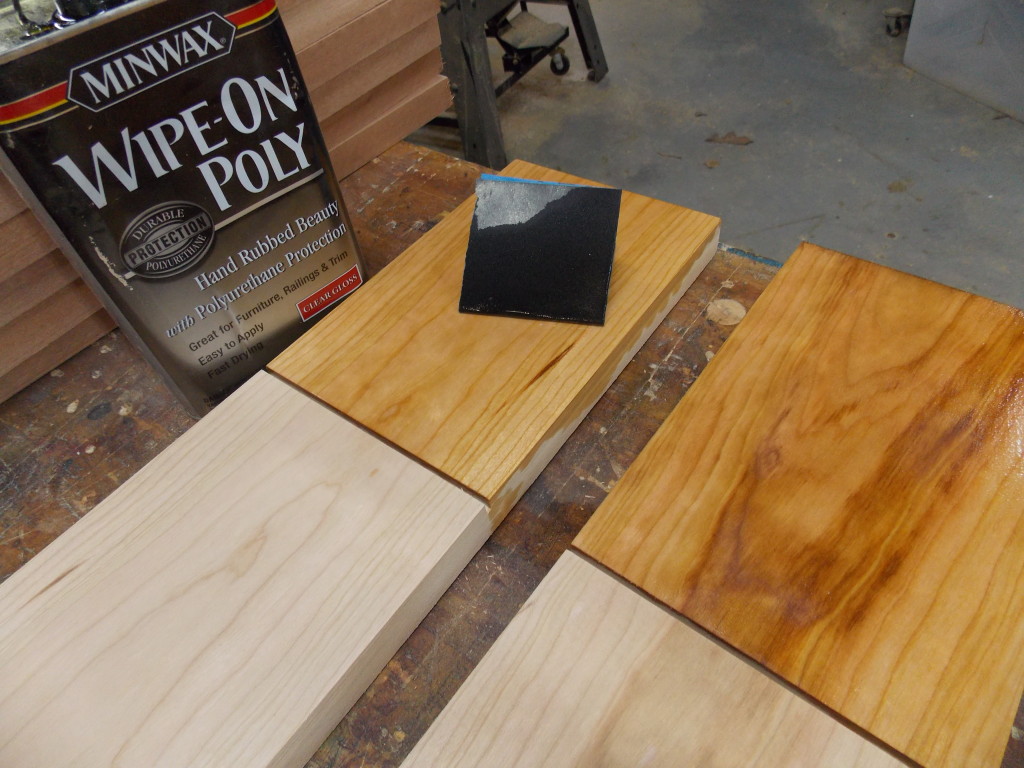
- Minwax straightforward polish wipe on poly
- Minwax cloth close wipe on poly
- White, lint-free cloth rags
- Nitrile Gauntlets (latex gloves will dissolve through use)
- Tupperware container
- Even sanding block (a scrap part of maple)
- 1,200 dust moist/hard sandpaper
Wipe-On Poly – Prep Practice
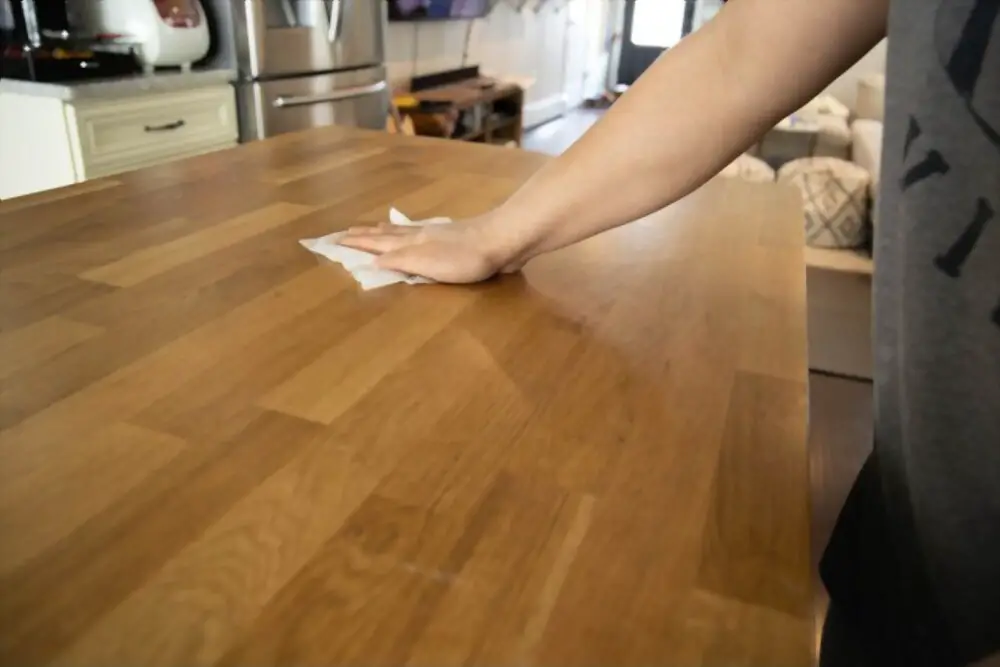
The first information you require to do is prep the practice section. Make sure there’s no powder on the furniture or nearby it. You don’t require to beat up any powder while utilizing your termination.
To do this, I regularly utilized compressed air and blew off all sections of the furniture to eliminate the particles. I also practiced air to dust off the workbench, where I’ll be utilizing the finish to small parts and prepping the poly ere any use.
When I let the ashes fall for an hour and play everything off repeatedly, then I clean the floor to decrease the uncertainty of mixing up dust by roaming throughout the shop.
I then fixed up all the furniture pieces where I require them and willing to take the ending. I perform specific no tools are lazing round in the way, and that there is lots of room to turn and work almost all pieces, outdoors things growing in the system.
How To Use Wipe-On Poly
A particular layer of wipe on poly is skinny, related to poly, you smooth. So I wish to apply 7 to 10 layers. Now, these many layers of cloth close can make the polish look very mirky. So it’s enough to use free polish until the last several layers, then change to silk (unless you want the radiant look, before ending with that).
So the method is this. On day one, I catch a scrap, and I utilize a cover throughout on the furniture. You also need to do the reverse and underneath aspects of all the items. This way, the board understands changing thickness levels evenly and reduces the uncertainty of creating malformation or unneeded stress.
Later I wipe on this original cover, present it an hour or so and apply the instant. The first band gets consumed immediately, so you don’t have to expect long for the flash.
After that, I apply each fur already per day until it’s built up enough to my liking.
But later on the 4th or 5th coat, I understand my 1200 dust moist/hard sandpaper and apply the cover to practice the sandpaper with a piece of wood. It generates a portion of a slurry, which I then transfer with the rag by covering in 1 course, one last time accompanying the direction with the similar rag I’d stayed practicing.
I don’t get caught up too abounding in allowing this slurry or making this means feather correctly. It’s kind of disordered, and I forever end up preparing it splattered throughout a bit. But that’s just me, and the finished outcome still grows out nice.
I only do this wet-sanding coat on tops I want to be incredibly slick and creamy. So wherever that will get affected a lot, I do this. Those parts are the drawer faces, and at this period, I’ve previously applied four layers with the scrap. Following these multiple coats, the polish feels broken, and dust nibs are started. Later I use the 5th sheet with the 1200 dust wet sandpaper, the following layer operates on with scrap, and it feels like glass.
Then near the end, when I have one course left, I’ll do the wet-sanding band once again. It is usually enough to make the ultimate finish super smooth and with a long, thoughtful sheen.
You can additionally manage the ultimate polish level of your close manually; learn how hither.
Closing Notes
That’s my model for whereby to apply wipe on poly. That’s the exact method I do, and it’s done going excellent for me. Here are several points that may support on the way:
Ere eating my movables, I regularly sand up to 220 dust. It is plenty even for an excellent finish. The only time I removed behind this was while I tried with a black coated piece if I did it with a real mirror shine: that expected 1500 and 2000 grit soaked sanding. But, conventional wood furniture, doing a wipe on poly, this high courage is entirely not needed. 220 is excellent.
Ever plan your finishing scraps flat or execute them so that they can dry uniformly. While I’ve nevermore witnessed it individually, it’s done noted many opportunities online that a finished rag that’s filled up can catch flame from the fire that grows off the surface. Setting it out flat can easily air-dry that heat dissipates just fine and doesn’t cause any energy buildup in the scrap.
Dirt points are noticeable in the end. So do your most beneficial to keep the room completely dust-free. It is frequently impossible, and you will possibly distribute with at least 1 or 2 prominent dust nibs. The best point to do is apply a poly layer with sandpaper later. It will beat it down, and you’ll nevermore even notice it again.