A broken screw can stop your work at any time. In this case, a screw extractor will be your lifesaver.
The method of how to use screw extractor is simple. First, drill a hole in the problematic screw. Then, apply the extractor in the hole and twist it until you can remove the screw.
Despite the simplicity, some people still fail to handle the screw extractor. There is some other information that you may need to do the task properly and effectively. Let’s scroll down for it!
What is a Screw Extractor?
A screw extractor is a specialized tool for removing damaged or broken screws from a workpiece without causing thread loss. It looks like a screw but features a reverse thread.
The screw extractor can work with both powered and manual tools like spanners or drills.
Some people call it “tap extractor” or “bolt extractor”.

How does a Screw Extractor Work?
It’s quite easy to use a screw extractor. The broken screw or bolt must first have a pilot hole drilled in it.
You can utilize the screw extractor as the extension of the bolt or screw once it has reached full hole depth. This method makes it possible to extract it from the object without any problem.
Manufacturers often use sturdy materials like alloy steel, HSS, and carbon steel to produce these tools. This strong structure, along with their spiral flute form, makes them ideal for extracting a wide range of screws, bolts, studs, bolts, and even fasteners.
Different fastener sizes need to go with each suitable size of the extractor. Hence, choosing the right size is important for your performance.
Why Should You Use a Screw Extractor?
Using the screw extractor kit has numerous benefits.
The most obvious reason to utilize these items is for the simplicity they provide when dealing with corroded, worn, or damaged bolts. Thanks to the tool, replacing the screws is more straightforward. Extractors can give a fast and simple solution to this issue.
If you’re using an extractor, you avoid drilling a larger hole in the material. It means that you can keep the original size for the screw hole. Once you removed the broken screw successfully, use the screw with the same size to replace it. As a result, your finish can be clean and neat.
If the integrity of the previous thread needs to stay still in the item, you can use the screw extractor as a solution. The tool enables you to substitute the bolt with one with the same thread measurement.
With the assistance of the screw extractor, you don’t need to use a drill. Hence, there is no time wasting on fixing the hole to its prior size. You can keep the previous thread as you want.
How to Get the Screw Ready?
Before starting to extract the screw, make sure that it stays in the best condition. There are some steps to prepare for it.
- Place a center punch on the screw first. The center punch looks like a metal pen. You can find it at any local hardware shop. Set the punch tip against the middle of the problematic screw head with one of your hands.
- Then, grab a hammer with the other hand and hit the head of the punch. Tap it with a gentle touch. You should notice a tiny divot in the screw if you followed things properly. This step directs the drill bit in the screw’s core.
- After that, drop the thread-cutting lubricant at the screw. This oil is available at some hardware shops in large bottles. However, you just need only one drop for a project.
- The liquid will lubricate the metal. Hence, you will spend much less time on drilling. The drill bit also can last longer. If you can’t find the lubricant, you can use motor oil or household oil. Yet, the effectiveness is not on the same level as the real cutting oil.
- Next, apply the penetrating oil to the screw. This kind of oil aids you in loosening the screw, allowing it to be removed easily. The oil is also good at dealing with rusty screws or the ones on a metal surface. If the penetrating oil is inaccessible to you, go for the acetone instead.
How to Use Screw Extractor?
The process of using a screw extractor includes seven steps:
- Step 1: Select a drill bit
- Step 2: Line the drill bit up
- Step 3: Drill a hole
- Step 4: Insert the extractor into the hole
- Step 5: Twist the extractor
- Step 6: Heat the screw
- Step 7: Pull the screw out
Each step has some requirements and tips to give out the best result. Let’s have a closer look at them.
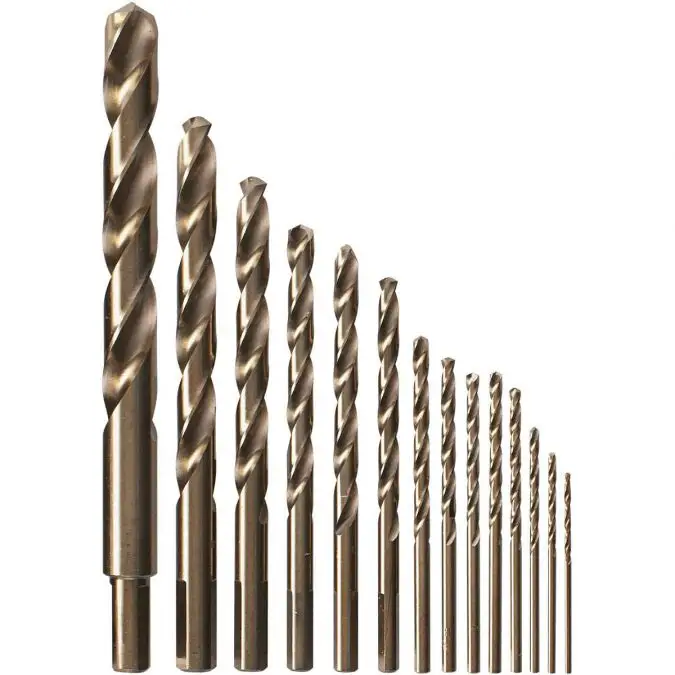
Step 1: Select a drill bit
To begin, choose a drill bit that is somewhat smaller than the target screw. Place the drill bits against the fastener or the screw that needs removing. The proper one must be narrower than the screw tip. Connect it to your drill once you’ve selected the correct one.
You can get the drill bits at a reasonable price. Or, you can purchase a full set for various sizes.
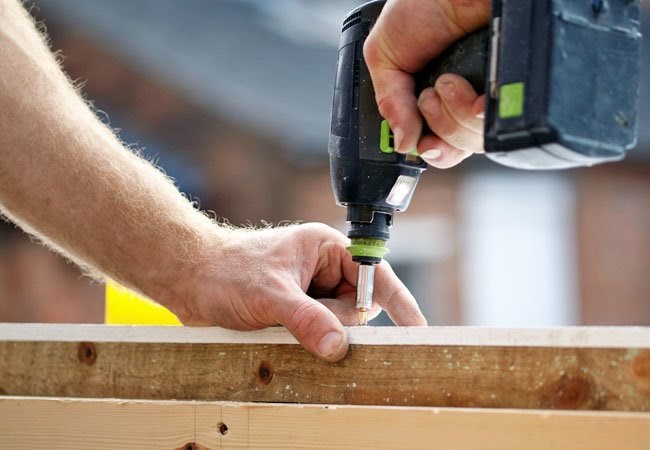
Step 2: Line the drill bit up
Now you need to insert the drill bit into the divot you made previously. When you start to drill, go carefully and slowly. You may break the screw due to excessive force. Keep the drill bit tight so that it drills precisely into the screw tip.
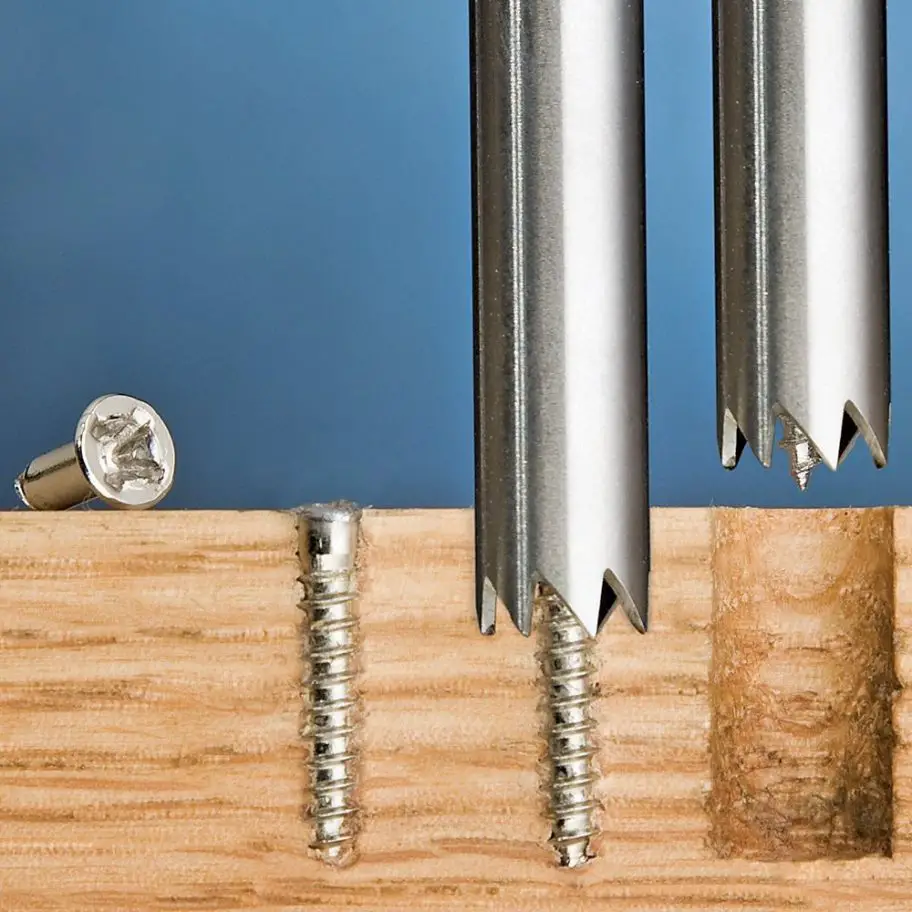
Step 3: Drill a hole
Now, drill a hole in the screw tip that’s about 3 to 6 millimeters long. The depth depends on the screw extractor you’re using. Bring the screw extractor up to the hole you have drilled to see how it matches. Keep on drilling to enlarge the hole until the extractor can fit.
If you use a drill bit that just penetrates within the screw, you may risk damaging the threads.
Step 4: Insert the extractor into the hole
The spiral head of the extractor has to go into the hole. To make sure that the extractor can move in, use a hammer to slightly tap it. You need to hold onto the T-shaped handle on the loose end of the extractor during this step.
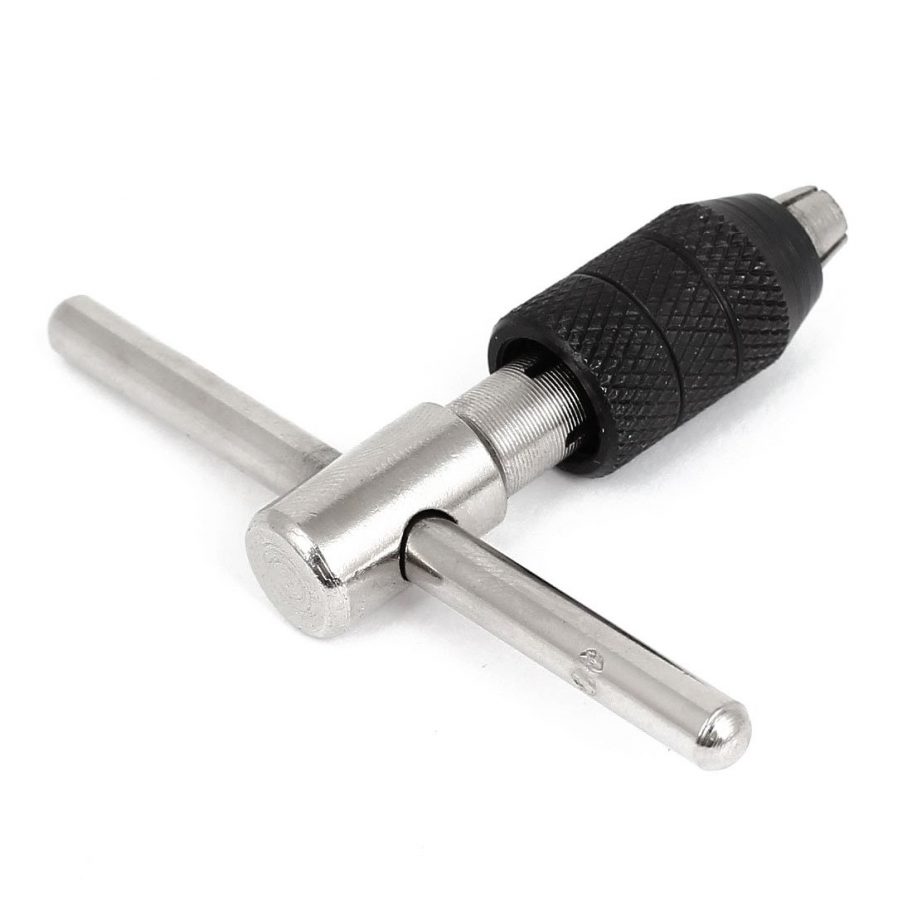
Next, rotate the tool counterclockwise until you can no longer turn it.
Step 5: Twist the extractor
In this step, utilize a drill or a wrench to twist the screw extractor.
If you choose a wrench, grasp the top of the extractor. Keep twisting the screw in a counterclockwise motion until the screw gets free.
If you choose a drill, connect it to the free head of the extractor. Then, twist the screw counterclockwise with your drill. The screw will come out with only a little effort.
If the screw still can’t come out, continue to twist it in other directions.
Step 6: Heat the screw
There is one more solution if you still can’t remove the screw.
Slightly heat the screw with a butane or propane torch for one or two minutes. This step is optional. Apply it if your material is non-flammable like metal.
Then, try to extract the screw again. The metal will expand after the heat, allowing it to come out easier.
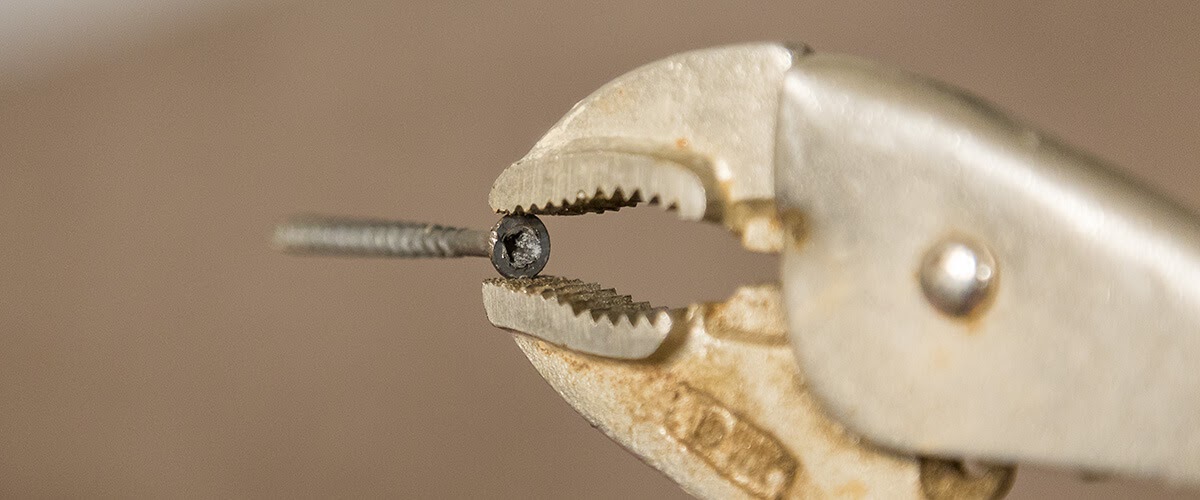
Step 7: Pull the screw out
Finally, use a plier to take the screw out.
Clamping pliers have a firmer grip on the screws than ordinary pliers. You can take the screw out by turning the plier. Heat also aids in the extraction of the screw by making it easier to extract.
You can also break or weaken the screw by drilling deeper into it. Do it with lots of caution to avoid any damages to the surrounding surface.
Screw Extractor Sizes
The screw extractor should be in the matching size with the bolts and screws. For simplicity and comfort of use, most screw extractors come in packages with numerous tools of different sizes. This is perfect for experts and others who often need removers of various sizes.
Here is some necessary data for the sizes of the screw extractor:
- Size 1: For 5-millimeter to 8-millimeter screws (or bolts).
- Size 2: For 10-millimeter screws.
- Size 3: For 10-millimeter screws.
- Size 4: For 12-millimeter to 16-millimeter screws.
- Size 5: For 16-millimeter screws.
- Size 6: For 20-millimeter screws.
The difference between sizes 2 and 3 is that size 3 can offer a larger pre-drilled size.
Conclusion
Above is a step-by-step guide on how to use a screw extractor. The ultimate rule is to follow the steps carefully and don’t use too much force during your work. If not, you may damage the surface. Once the screw gets stuck, don’t try to pull it out. Use another method to solve the problem as aforementioned.
If you have any questions, please feel free to ask. Thank you for reading.