How do I transfer a design from paper to wood?
- Print out the design on paper.
- Shade over the design showing within the back of the paper with a pencil.
- Trace over the design with the paper on top of the wood.
- Remove the paper from the wood to expose the letters transfer.
- Complete the letters and transfer them to wood with a marker or paint marker.
What is the easiest way to transfer a design onto wood?
- Print your design.
- Spread plenty of chalk onto the back of the printed design.
- Stagger the excess chalk off the design.
- Using a ballpoint pen, trace over the design very strongly.
- Blow excess chalk off of your sign, next trace over the chalk with an oil paint marker.
How do you transfer pyrography patterns?
- Size your pattern.
- Print your pattern ( Any printer).
- Tape your pattern in place and print side faces upwards.
- Transfer your pattern. Place carbon paper or graphite paper dark-side down on your wood underneath your pattern (Transferring letters onto wood process takes place in this step only).
How do I transfer a pattern?
- Draw the pattern in reverse, go over it in soft pencil, put the pattern pencil side down on the wood and rub the paper. The pencil pattern will transfer to the paper.
- Lay the pattern on the wood over a sheet of carbon paper. Trace over the pattern, the carbon paper will transfer the pattern to the wood.
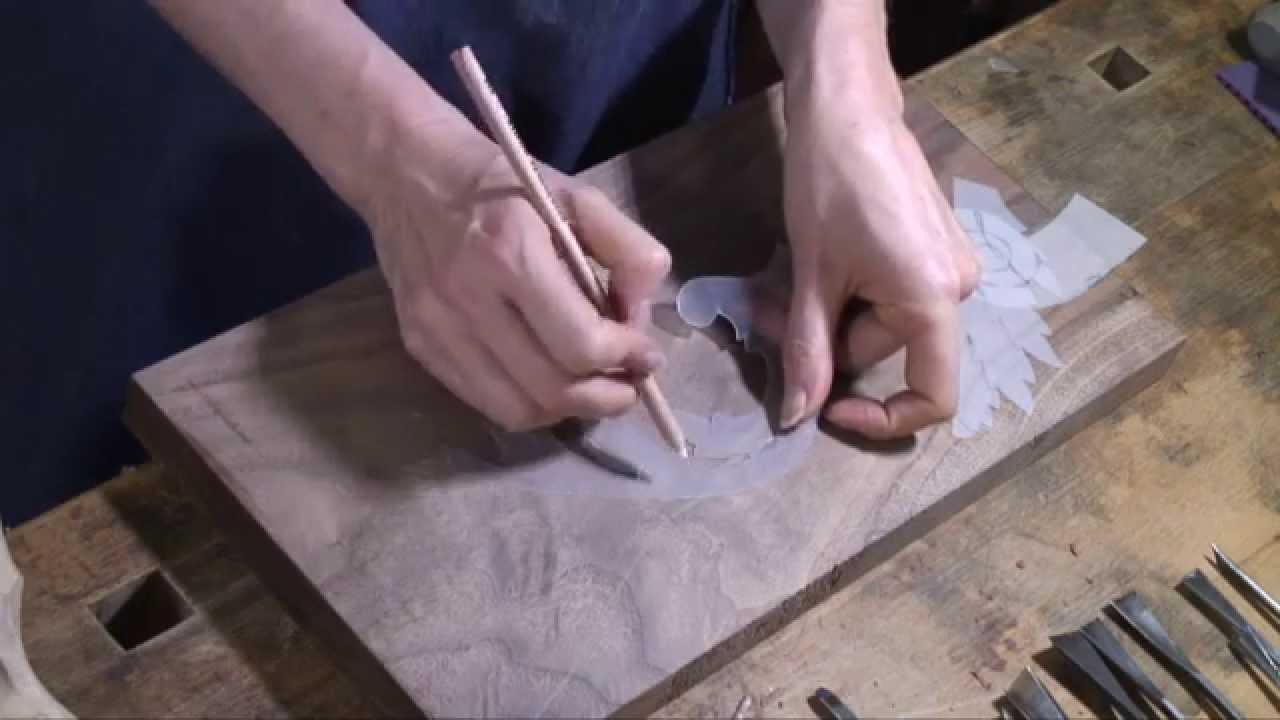
How to transfer a pattern from paper to wood?
Are you wondering how to create cute and lovable signs or “transfer words to wood” or “transfer letters to wood” or “to transfer pattern to wood” or “designs on wood” or “transfer design to wood” or “to transfer drawing to wood” or “transfer stencil to wood,” for all these wonderings and questions, the answer is YES! Yes, you can transfer all kind of drawings, letters, design and pattern on wood with some methods.
Follow these directions correctly to transfer words to wood,
1. Print your design
Before begin to transfer words to or to transfer design to wood, get prepared with a printout of that particular design or words, which you are going to use. Preferably go for black and white printouts, so that you can see all the nuke and corners of the design/words. So get ready with the printout!
2. Rub more chalk onto the back of the printed design
Rub on lettering for wood is an efficient way to design your desired print on wood. Printing letters on wood is quite easy to compare to sizzling the wood. There are many ways for printing letters on wood, among those methods “rub on lettering for wood” is the best and efficient one.
3. Shake the excess chalk off the design and place the print side faces upwards on the wood sign
After, “Transfer pattern on wood”; shake off the excess chalk from the design and place the printed side facing upwards on the wood signboard to “transfer design.”
4. Use a ballpoint pen, to trace over the design strongly
It is the crucial part in this designs on wood process, Trace over the layout of each letter or design, to “transfer drawing to wood” or “to transfer stencil to wood” or “to transfer words to wood” or ”to transfer pattern to wood” or “to transfer letters to wood.” Tracing paper for wood is the best material to rely on. If tracing paper for wood is available, use it wisely. It will show the kneen outline of the drawing predominantly. The key point of this step is, the pressure from the pen will press the chalk power onto the wood sign easily. Transferring letters onto wood process takes place in this step only.
5. Blow excess chalk off the signboard and trace over the chalk with an oil paint marker
Finally, blow off all the residual chalk powder from the signboard and paint on the trace with an oil paint marker to get your designs on wood.