A water leakage problem on a sink or a washbasin often comes from the trap. Wear of the seal, loose or damaged part with time, the causes are various.
There is no need to call a plumber for this kind of problem. You can solve the problem yourself. How can you do it?
This is what we will explain to you.
The main reasons for a leaking drain
Is your sink or lavatory leaking? Have you noticed that this leak comes from the drain, in particular the siphon?
Nothing to worry about! There are many reasons why a siphon may start to leak:
- Improper tightening: the water that drains out, alternately hot and cold, causes expansion and contraction on the PVC plumbing. Over time, this can cause the trap to loosen.
- Improperly installed gasket: An improperly installed gasket may cause a leak over time.
- Worn trap seal: If the installation is old, it is not surprising that your trap seal leaks. The limestone in the water is putting it to the test.
- Defect of the conical joint: between the drain pipe and the trap, a conical joint ensures the sealing between these two parts. Whether it is defective, badly positioned or worn, it is necessary to intervene to repair the leaks caused.
It doesn’t matter which of these causes your home to leak. You must have all the necessary tools at home to solve this problem.
Equipment needed to repair a siphon
You will need a few tools:
- A pair of pliers.
- A basin.
- A set of drain seals.
- Optional: a roll of Teflon.
As you can see, there is no need for technical or specific equipment.
If your trap is old and clogged, even if the leak is only due to a worn seal, you can perfectly change the whole trap. On the one hand, this type of part is not very expensive, on the other hand, a set of gaskets for an old model can be more difficult to find.
How to repair a leaking drain: the method to follow
First of all, you need to find out where the leak is coming from.
Is it a leak in the tank seal, the tank itself or the cone seal? To find out, simply run your finger over each part of the trap. To be sure, use a paper towel: wrap it around the gasket, then unroll it. If you notice a small drop of water, you know where the leak is.
Things to note
The 2 most common leaks are due either to a seal in poor condition or to a poor tightening.
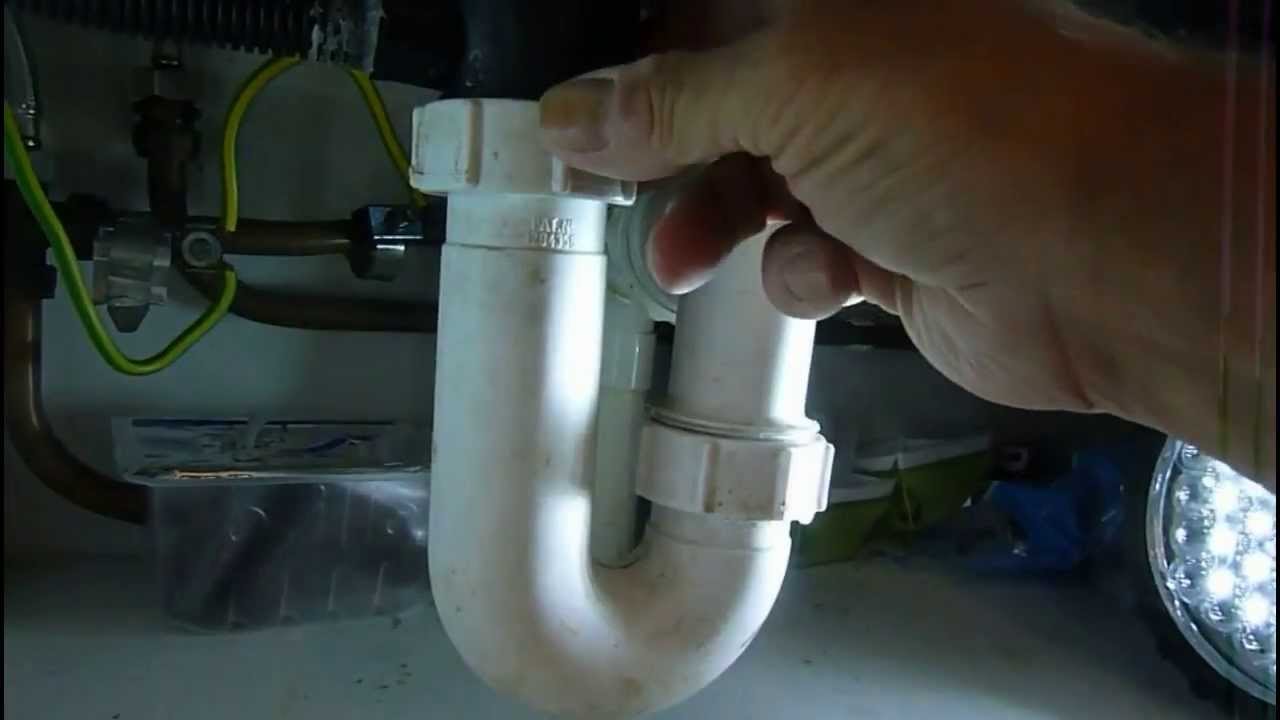
Removing the siphon
To remove the trap, it is very simple:
- Place the basin under the sink: when you unscrew the basin, water will flow out.
- Loosen the tightening nut of the upper part (just under the sink or the washbasin).
- Then loosen the nut towards the drain pipe.
Your siphon is dismantled. Now you just have to disassemble it to check its condition and that of the seals. While it is disassembled, take the opportunity to clean the basin with a sponge to get rid of residues.
Replace the tank seal
To do this, simply unscrew the tank. You will see a gasket appear.
Remove it and replace it with a new one. Be careful when installing, make sure the gasket is in place and that it won’t pinch when reassembling.
Once installed, screw it in. You are done.
Replace the conical seal
- Remove the gasket while the trap is disassembled.
- Replace it with a new one.
Be careful to put it in place correctly. You will see, being conical, it is easier.
Reassemble the siphon by tightening the nut.
It is finished.
Replace the conical seal of the sink trap
- This gasket is located between the drain of the trap and the wastewater pipe.
- Reassemble the trap
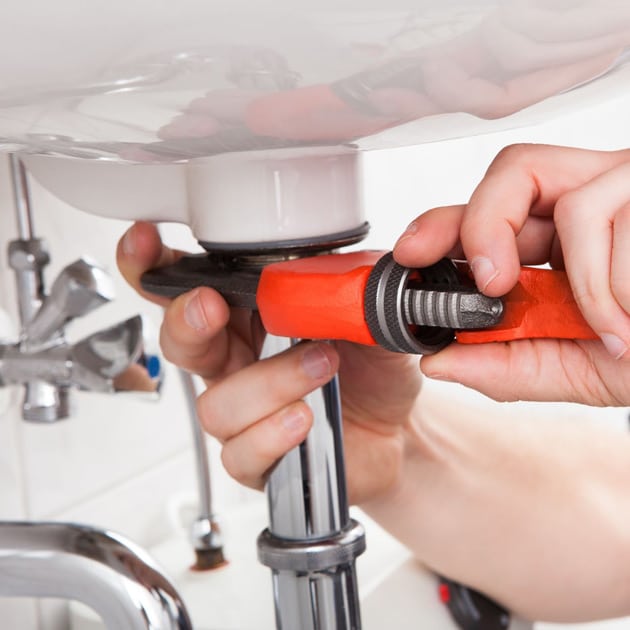
- Now that the basin is clean and the gaskets are changed, all you have to do is reassemble the part.
When you screw on the nuts, use a pair of pliers to get the necessary strength. Remember, a bad tightening can lead to a water leak.
Now check that everything is tight. Let the water run from the tap and check that everything stays dry.
On an old sink, for example, it may be difficult to find the matching drain if it is worn. In this case, change only the seals after cleaning it, then apply a little Teflon on the threads of the nuts. When reassembling, be sure to tighten. Teflon can help strengthen the seal. You will be more secure.
Pitfalls to avoid
If it is a do-it-yourself project within the reach of everyone, it is however necessary to work with care, at the risk of causing water damage to the house.
If you notice an installation that is different from what you are used to seeing, do not embark on a risky repair. It may be necessary to call in a professional to ensure a proper repair or renovation.
If you find yourself in this situation, don’t improvise! Improper maintenance will only make your leak problem worse.
If you can’t get the trap out of a fitting, don’t force it! Again, it may be an improper assembly, most likely finished with glue. If you force too much, you can damage a pipe. In this case, the price of the repair will not be the same. If you have too much difficulty, contact a professional.
Some jobs are done by amateurs and finished in a hurry. It is when you disassemble that you realize it. In this case, leaving the work to someone in the trade, he will avoid disappointment.
If your problem comes from your shower, contact a plumber. With the trap underneath, the job can be complicated. Instead of making the situation worse and wasting time, call a pro.
bathroom flush
A permanently running toilet: what to do?
A continuously running toilet is often a sign of possible minor problems. For all these causes of leakage, there is a simple way to intervene and solve the flow problem. Follow the guide, we tell you everything.
Just remember to take the time to install the seals properly and tighten the nuts. Everything should go smoothly.
Have a great DIY!