Mold on your wall is a very common problem. Many people wonder about how they can remove this mold from their walls. Because they are very bad ones that can destroy your wall if remain for a long time on the wall. So, you don’t have to worry about it further. Because today we are going to tell you about how to kill mold on walls. So before you going to kill the mold on your walls, first, you have to know what materials you need to kill them. So, let’s read to know.
Things Required To Kill Mold On The Walls
It is very understandable that two types of things are required to kill the molds on the walls. One is the tools, and another is the materials that need to remove them.
Tools Required to Kill Mold
- A Drywall Saw
- Paintbrushes
- Rubber Gloves (as needed)
- An N-95 Respirator
- Scrub Brushes
- Shop Vaccum
- Safety Glasses (as needed)
- A Window Fan
- A Utility Knife
Materials Required to Kill Mold
- Heavy Duty Cleaner
- Painter’s Tape
- Plastic Sheet
- 6 Mil Plastic Garbage Pack
- Oil-based or Shellac-based Primer
- Bleach
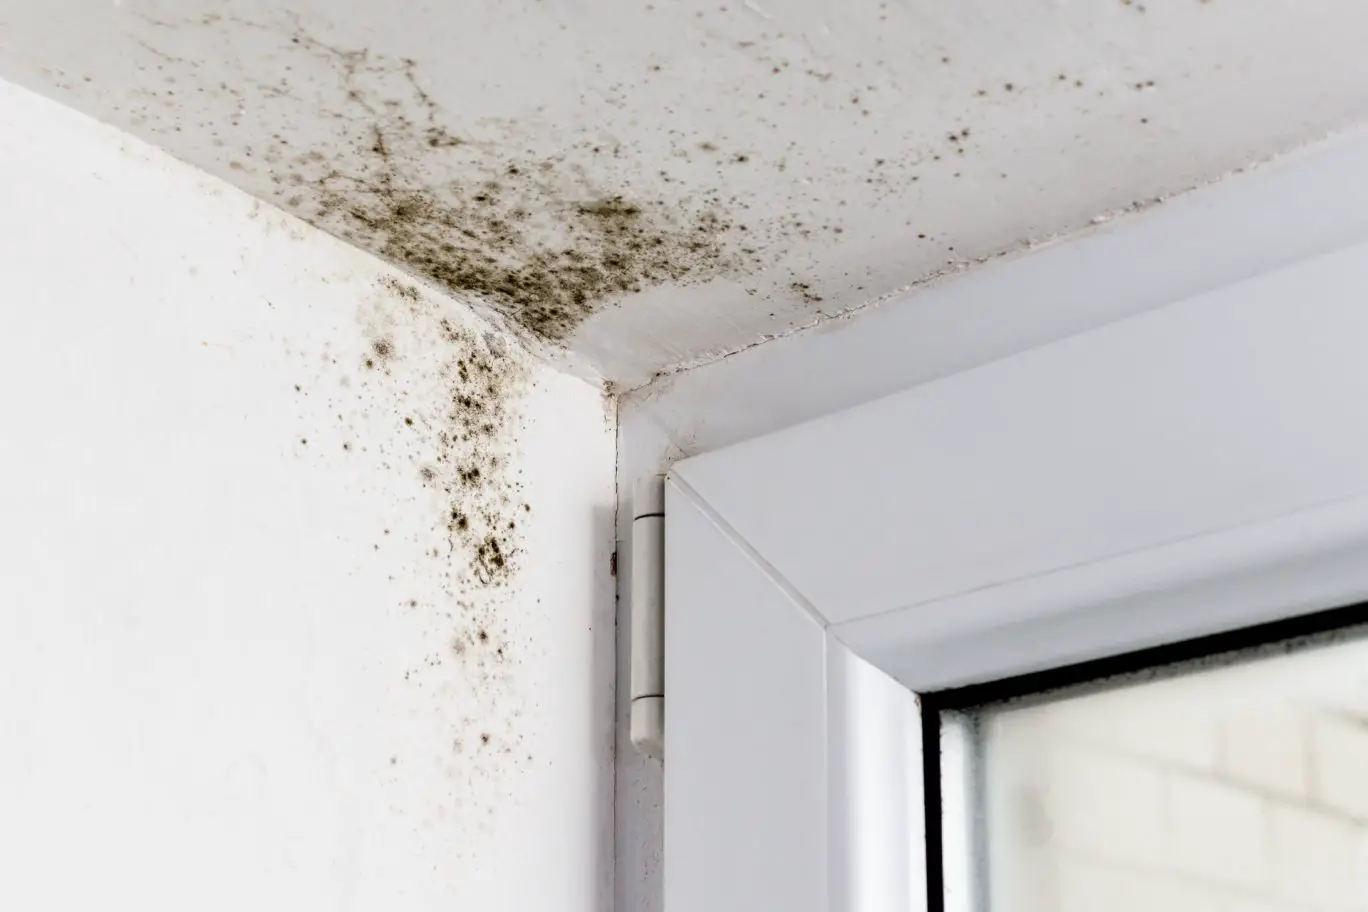
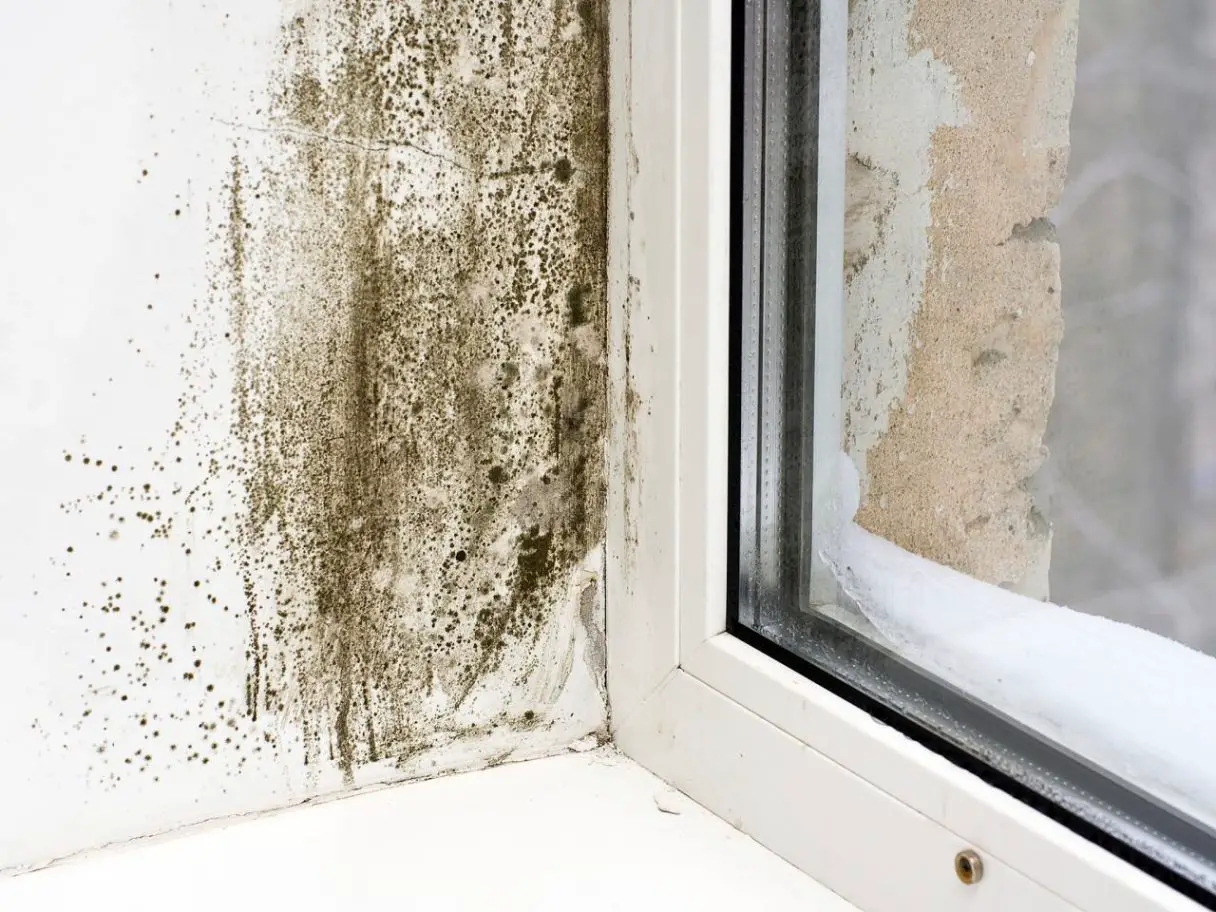
Mold is basically a very bad thing. It just does not create problems for the walls. It is also creating problems for your health. Sometimes, from molds, few spores come out that can affect your health badly. It can also be the reason for sneezing, coughing, allergic reactions, runny noses, irritation, and health hazard odors. On your wall, it creates black spots on the side, blackened the grout lines of your shower, darkens the decks, discolors your walls, etc. And besides, if your home is made with wooden or wooden utensils like in wooden table or wooden chair they grow and dump them, rot them, create bad odors. Overly mold on your house means a nuisance environment. As for sure, you are removing them from everywhere is a very important job. In this article, we will tell you in detail that how you are going to get rid of the molds, how you can kill black molds, how you can remove them from wood. And we will tell you about all step-by-step procedures. Let’s continue!
Step By Step Process To Remove Mold Everywhere From Your House
1. Remove Molds with Precautions
Before you proceed to remove molds from your walls, the first thing is you need to take precautions. As we already mentioned that it’s just not ruining your house. It is also bad for your health. Especially take precautions if you are removing concentrated molds or black molds that are covering more than a few square feet of your home. So, the precautions that you should need are given below.
- You need to wear respirators. Especially wear N-95 or P-100 respirators. In addition, also use the gloves on your hand and wear goggles on your eyes.
- Wear old clothes that you can throw away after work, Or you can wear clothes that are washable easily.
- Set a cheap old box fan or window ventilator on the room before cleaning. As spores of the molds are not easily removed, you need to throw out this fan or ventilators. Use the cardboard or plywood on your open window. Do that to make sure the spores did not come back to the room.
- Also, to make sure the dry molds do not spread everywhere in your room, use a garden sprayer to make them moist.
- Switch your home air conditioner and furnace to cover them so that the spores dont get onto them.
- Wrap and tape the molds with 6-mm plastic. Also, put the molds infested debris on the double garbage bag for disposal after working.
2. Remove Carpets that contains Mold
- If molds also spread on your home carpet, then remove it. Using the utility knife, cut the stained carpet or musty carpet and the pads measuring 6×8 feet.
- To avoid the spreading of the spores, you need to moist the area. To do that, pump your sprayer or spreading water to make it moist. After doing that, gradually roll up the sections. Again, by using the 6-mm plastic, wrap them properly and airtight with water for disposed of.
- When you are doing this process, runs a window fan and wear protective clothing & gloves.
3. Cover the Whole Damaged Area
- In your room where the mold grows, keep isolated from other things in the room using plastic and tapes.
- In doorways, make a thick plastic barrier and cover it with the tape in-wall and your floor.
- Close the opening window or ventilator by covering it with plastics.
4. Open Your Mold Infected Wall
The next step is you have to open up your moldy walls.
- To open the moldy wall carefully, use the pry bar and woodblock. Trim your walls contaminated areas by using these two things.
- If your walls are heavily stained with proves or swollen with moist molds, you can use a screwdriver on your home to open up the wall. But after the work, sterilize the materials properly. Inside moisture or swollen wall, you can remove the hidden mold insulation inside the wall.
5. Moisten the Area and Packed Moldy Materials
Now, as you broke your wall to come out the inside molds, you can see them inside. Now you need to break your drywall properly so you can remove all the mold inside it. And don’t hesitate to break up your wall. Because ultimately, you have to repair it anyway. Find all the damage and let them out.
- When you break up your drywall, remember that you do not cut your wires. To do that, first, make a hole in the wall. Then find out where the wires are present.
- Also, remember before you cutting out the walls, switch of your electricity. So, there is no problem occur when you are working with the wires.
- Again, to avoid the spreading of the spores from molds, moist the moldy drywall and insulation with the help of a pump sprayer.
- The important thing put all the molds on the heavy plastic bag and close the bag with proper air-tight maintenance so that nothing can spread.
If, by any chance, the moisture mold damage becomes unnoticed, then it will create a difficult rot on your wall in the future. So try to remove all the mold dry or wet, carefully and with full attention.
- If possible, remove all the moldy wall sheetings and spongy and soft studs from the wall.
- Where the removal is quite tricky, then treat the area with wood preservatives. But at first, clean the wood’s preservatives and dry it properly.
- After that, double up rotted these molds area with pressurized wood preservatives.
6. Clean the Room and Repair
To complete the clean-up procedure of your room, vacuum up all the mold debris from the floor.
- To vacuum up this debris from the floor using the dry/wet vacuum cleaner. If possible, you can buy an extra-long hose. So that by the helping of the hose you can keep the vacuum cleaner outside so that it can not abe to spread spores.
- After your cleaning is finished, then clean the vacuum cleaner properly. Divides its parts and cleans each of them. Disposed of the filter, wash the vacuum cleaner tank hose and attachments with bleach and water solution.
7. Scrubs Surface with Mold Cleaner
- Make a mixture of one quart water and half a cup of bleach to make the mold cleaner. This mold cleaner kills the molds on your wall. To remove the molds, scrub the moldy area using this mold cleaner.
- Use a soft brush to clean the molds and scrub the place until the dark mold sign does not go from the area.
- After the moldy spots are gone, spread bleach solution in it like the way so it can penetrate through the walls and keep like this way until it is not dry.
- Then wipe off the surface but do not rinse.
- Set the trim in direct sunlight for dry. Then, scrub with TSP or the automatic dishwasher detergent present on your house at the moment.
8. Cover Moldy Areas when They Dry
After you remove all the molds now, it is time to seal or cover your wall again.
- But before you seal the area, wait for three days. For these three days, Set out dehumidifiers and set a new fan to dry the areas.
- After three days, again check for the spot of any molds or molds smell. If at the point if you find more molds in your area, clean them again with bleach. Bleach will help in mold remediation.
- When you are confirmed that no molds remain, then sealed the area with an oil-based primer like KILZ or pigmented shellac like BIN.
- Now, repainted your fully clean wall surface with regular latex paint. This paint contains a mildewcide that’ll prevent future mold growths on your wall.
- Now you have to install the new drywall and new insulation and then nail it back again. But you do all this process. Remember that if moisture comes, mold can become again. So after you clean hard all the place try to avoid the moist on places of your house.
9. Some Techniques to clean Surface Molds
Mainly molds occur in the places that moist most of the time, like the shower grout lines, always infected with molds at first. But this line can easily be removed by the mold cleaner that is made with one cup of a quart of water, half a cup of bleach, and a little bit of detergent sometimes. In this cleaning process of the molds, the bleach on the cleaner actually kills the molds. Detergent is used to lift off it from the wall so you can rinse it away from the wall, and it dont come again.
- Even if you are doing a simple cleaning process, you should avoid molding infection—all the bleach use as a cleaner. So, before you start mold cleaning, use long sleeve pants and shirts. Also, use plastic or rubber gloves and wear goggles on the eyes.
- If on the surface, mold does get off by a simple cleaning. Then, put the cleaner on the mold and a minute or two to properly sit the mold. And then lightly scrub on the mold area. Hopefully, it will be removed.
- After cleaning, seal the surface when it is dry. It will slow future moisturization. You can use the grout sealer to joint the tiles. You can find it in any shop or any home center that does business with these types of materials.
Remember a thing on this process. Do not mix the ammonia or any other detergent that contains ammonia with bleach. Because if these two get mixed, then they will produce poisonous gas.
10. Some Tips to Avoid Regrown of Molds
Now, gain full knowledge about how to kill or remove molds. But the prevention of regrown of the molds is also an important factor. To prevent them come back again, you have to keep your room dry Because most of the molds grow in the moist place, where water is leaked to your room from outer places. And moist molds are mostly the bad ones. So close the leakage from where water comes, make a good ventilation system on attics, make the crawling spaces dry, and avoid water drainage there.
Another thing you can do is use mildewcide in your paint. It is used to kill the molds and avoids the regaining of them. However, most of the paints contain mildewcide. Otherwise, you can take advice from your wall painter.
Frequently Asked Questions
A. What kills black mold on walls?
Mainly the mold cleaner is made with one cup of a quart of water and half a cup of bleach. On this cleaner, bleach is used to kill the molds, including the black molds.
B. Is bleach or vinegar better to kill mold?
Yes, definitely. Vinegar is killed molds in an effective way than bleach. And, also there is a chance that bleach may remain on the surface after cleaning. So there needs an extra method to remove the bleach. But in the case of vinegar, it will not remain and clean properly.
C. What kills mold instantly?
White vinegar can clean molds perfectly. As it is mildly acidic in nature, it able to deodorize, cleans, and disinfect any place or walls. It can kill 82% of molds, including the black molds from any porous or nonporous surfaces. It is very safe to use on the surface and removes bad odors quickly.