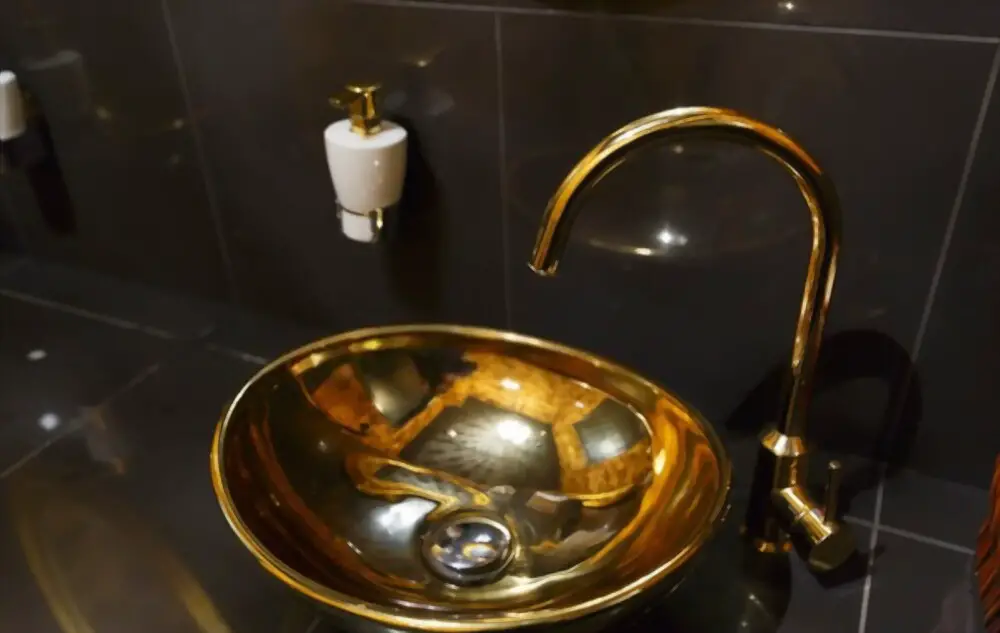
Copper sinks are one of the additions to every kitchen and bathroom. However, caring for it is not as easy as it seems.
The fact is that washing and storing it is not the same as caring for stainless steel, enamel, or composite. You need to wash it carefully to avoid damaging it, and the process requires a bit of care.
Today, we’ll cover the do’s and don’ts when cleaning your sink. Thanks to that, you can keep it in top condition for a long time. So, let’s find out “How to clean copper sink.”
How to Clean Copper Sink?

All copper sinks should be cleaned regularly in the same way, no matter their finish.
Daily Solutions
We recommend cleaning sinks daily, so they always maintain their polished appearance. It should happen right after you use your sink.
Treat Your Copper Sinks with Care
Copper is considered one of the excellent materials for bathroom or kitchen sinks. However, it needs to be taken care of carefully.
As we all know, this material can be corrupted by acidic foods. Hence, it would be best to clean your sink as soon as it comes into contact with those foods. So, for example, clean it as soon as it gets on ketchup or other products with the same properties.
You also should not use scrubbing pads or steel wool as they can discolor or scratch the sinks.
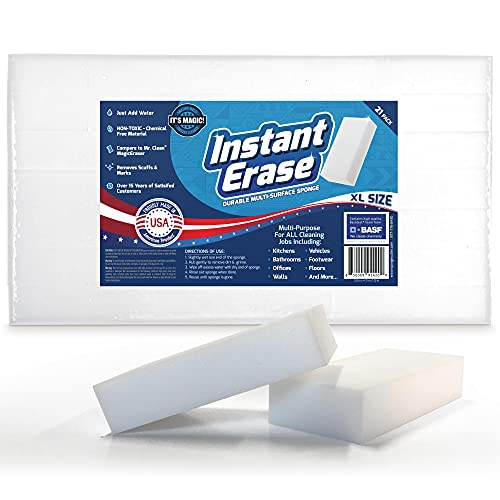
Utilize Damp Sponge
Let’s start by preparing the necessary tools and materials. Here’s what you need:
- Clean microfiber towel or cloth
- A soft and clean sponge
- Kitchen gloves
- Warm water
Step 1: Wear your kitchen gloves. Then you need to moisten the sponge in warm water.
Step 2: Wipe the sink in turn from top to bottom with gentle scrubbing movements.
Step 3: Dry its entire surface. Otherwise, water spots will form on the sink’s surface, causing it to discolor.
Get The Sink Shining By Using Dish Soap
Let’s start by preparing the necessary tools and materials. Here’s what you need:
- Warm water (2 cups)
- Soft sponge
- Kitchen gloves
- Microfiber cloth
- Liquid dish soap (1 tsp)
Step 1: Mix 1 tsp dish soap and two cups of warm water in a bowl. Then dip your sponge in that mixture.
Step 2: Scrub the surface with your soft sponge. Continue scrubbing until all stains are entirely removed.
Step 3: Use clean water to rinse your sink again. Then dry it with a soft towel.
You can also use vinegar to remove some stubborn stains.
Use Vinegar on Your Sink
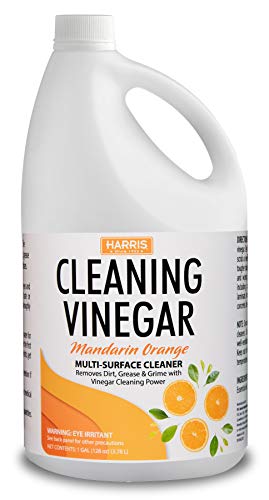
Here’s what you will need:
- White vinegar (2 cups)
- Warm water (1/2 cup)
- Soft sponge
- Kitchen gloves
- Clean microfiber cloth
Step 1: Mix two cups of vinegar and half a cup of water in a bowl. Then dip your sponge in this solution.
Step 2: Use a damp sponge to scrub the stain using gentle, circular motions. Repeat until the surface is shiny again.
Step 3: Use a clean cloth to dry the surface to prevent surface oxidation.
You can also use this method to clean copper decorations or jewelry. You can even use vinegar to clean a rare coin you collect.
Heavy Duty Cleaners
This section will cover ways to remove stubborn stains from surfaces.
Remove Tough Stains with Baking Soda

Here’s what you will need:
- Baking soda (2 tsp)
- White vinegar or cold water (2 tsp)
- Kitchen gloves
- Clean microfiber cloth
- Soft sponge
Step 1: Mix warm water and baking soda to form a thick paste. You can also use vinegar instead of water to clean a new sink with no rust.
Step 2: Apply this mixture to any stubborn stains on the surface. Then wait for about a minute before cleaning with a sponge.
Step 3: Rinse the sink with warm water. Then, use a clean cloth to dry the entire surface.
Control Aging and Stains with a Copper Cleaner
Copper cleaners are essential against aging and stains. You should wear gloves and all protective equipment before using them, including eye and respiratory protection.
Also, it is wise to open all windows for adequate ventilation. You need to follow the manufacturer’s instructions to get the best results. Rinse the surface after cleaning it with these cleaners and dry it with a clean towel or cloth.
You should watch the following video to better understand:
https://www.youtube.com/watch?v=s3LwQTKG2yg
What Not to Use to Clean a Copper Sink?
As you can see, cleaning copper sinks is very easy. However, some tools and supplies are not included to clean them.
Tools and supplies to never use on the copper surface:
- Harsh chemicals such as bleach
- Drain openers
- Abrasive cleaners
- Harsh scrubbing pads
- Steel wool
How to Maintain a Bright Copper Finish?
Even with careful cleaning and maintenance, the lacquer will eventually wear down. So, If you want a shiny sink, choose a lacquered finish from the manufacturer as soon as your copper begins to discolor or darken.
Food-safe waxes or lacquers are perfect options for maintaining a shiny surface look after every clean. They work wonders on the surface of sinks, and you can find them at the local home improvement center.
Frequently Asked Questions
1. Are copper sinks hard to take care of?
No. It is essential to know well do’s and don’ts when cleaning your sink.
2. How do you remove tarnish from copper sinks?
You can use a mixture of water and vinegar to treat it.
3. Can you clean copper sinks with bleach?
No. Do not allow bleach in contact with your copper sink.
Conclusion
In general, cleaning your copper sink is not as complicated as you might think. However, you have to keep a few things in mind not to damage it.
You need to avoid using any harsh chemicals or detergents on your sink. Plus, you need to avoid leaving food leftovers in sinks or letting it get wet between uses. Hopefully, you have gained some helpful knowledge from this article.
Thank you for reading!