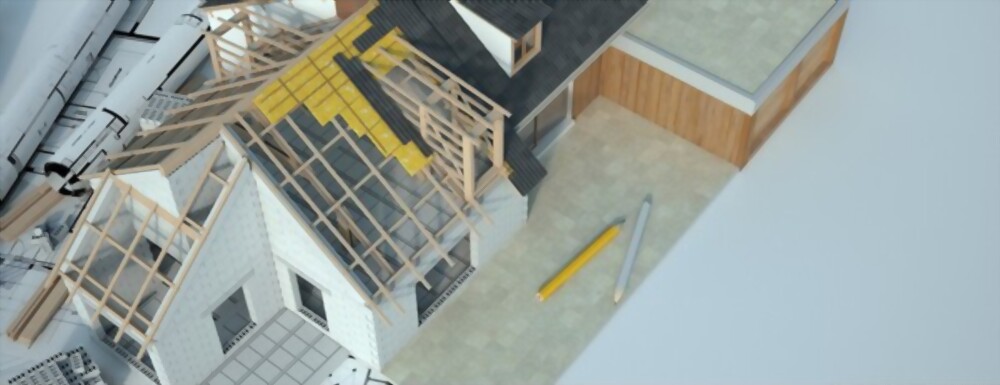
Discover how to build an insulated exterior door complying with 7 basic steps
It is time for you to learn how to build an insulated exterior door by completing some basic steps without any help. You need to avoid the cold or very hot climates during the year with the insulated exterior doors. Doors of this type give a great presentation to your house, causing its investment value to increase greatly.

If you intend to install these insulated exterior doors, you can also save money on heating or air conditioning payments. It is a good idea for you to install these doors on the front of your house or at the rear. You can paint these doors any color you like so that this does not interfere with the facade at all.
You have to learn how to build a door to save money because its purchase in stores is expensive. On average, an insulated door can cost up to a minimum of $100 and a maximum of $500 depending on the size, material used, or even color. It is time for you to know everything about the construction of these doors so that you can place them at home and save a lot of money.
Factors to consider for insulated exterior doors
In the process of how to build an insulated exterior door, you must take into account some factors such as:
Materials with which the door will be built
You can choose from the four best materials to build a wooden door identified by their beauty and durability. These materials have their advantages and disadvantages when you use them for your front or exterior door. Among the materials that are most important for you to use on your door are:
A wooden door gives a very traditional look, and you have many modern and conservative colors available. You may like wooden exterior doors if you combine them with glass and a metal frame. It is time for you to exploit your creativity by building a classic wooden exterior door.
- Aluminum
It may be one of the least attractive materials to attach to a door, but you may be fond of its updated style. The only disadvantage of using aluminum for a door is its low resistance and the strange sounds it makes when moving.
- Steel
Steel has a very solid construction, so that you will be making a long-lasting investment with a door. With steel, you can have many door designs combined with insulating foam and glass elements.
- Glass
You can have exterior doors with glass to fully increase the value of your property. This is one of the most beautiful materials for external doors, but it also has great value. You have to contact a good glass manufacturer to provide you with the parts to build your new door.
Composition of layers for exterior doors
Exterior doors are made up of several layers and not just one, as you may have thought. These doors can be built in various ways, depending on the level of security you want to gain. The composition of the layers also includes sound insulation or climatic changes backed by foam and other materials.
The detailed composition that you have on the exterior doors is:
- 1st layer
With a layer, you will enjoy the insulation layer usually made of the same material as the door. With a one layer door, you will have little insulation, not to be useful if you live in a cold area.
- 2nd layer
They have internal and external layers with a polystyrene composition for safe insulation against cold and sound. You can use this type of door to living in a warm climate with temperatures that do not drop below 25 degrees.
- 3rd layer
With this type of door, you will take maximum protection with its composition in polystyrene and polyurethane that are internal. You can completely avoid the transfer of heat or cold to your home through this access.
Building a DIY outdoor door
Now that you know the basic principles before knowing how to build an insulated exterior door, you should know the materials to use:
- Pencil
- A drill bit
- Sheet with one inch of hard insulating foam
- 1-inch long wood screws
- At least four wooden planks 1 inch wide
- ¼ inch plywood
- Gloves
- Glasses
- Dust masks
- Wood glue
- Tape measure
- Clamps
- Miter saw
With all the construction materials at hand, you must proceed to build the door with the following steps:
Step 1: You need to cut the wooden board
You need to cut the wood board with the miter saw to a measurement of 4 inches by 6 inches. You have to cut 1-inch by 4-inch plans using two up to 68-inch boards, the two 40-inch boards, and boards with that extra measure.
Step 2: Cut each panel for the outer door.
You should use a pencil to mark a rectangle approximately 72 inches by 48 inches on the two sheets of wood. You should use the circular saw to cut the entire area that you marked with the pencil in the plywood.
Step 3: Trim horizontally for the insulation frame
You should place the wood glue on the surface of both boards that are 48 inches long. When applying glue, you have to place the two pieces of wood on each board and then fix them between the edges horizontally. When you hold the boards, you must mark them at intervals of up to 8 inches; you must remove the clamps after drilling the marks with the screws.
Step 4: Lay the edges vertically for the insulation frame
You should place the glue on the face of the woods that are 68 inches long that you cut at the building’s beginning. You should place both wood panels on each board and then fix them on one side of the vertical edges. You have to repeat the process you did with the horizontal edges in the previous step.
Step 5: Place the middle board
The board that measures 40 inches is the one indicated for you to use for the door you are building at home. You must place the board at the center point in the vertical direction and only stick it in that area.
Step 6: Lay the insulation
Finally, you have to put the insulation on the frames with 40 ” x 32 ”, which are new holes. You should fill the holes with hard insulating foam after cutting and fitting it to the correct size. You have to apply a little pressure in this area so that the insulation sticks well at the edges.
Step 7: Finish your work.
Now that you have installed the insulation, you have to finish the job by placing the remaining wood in the main or back part. You must place a frame in tune with the door and hold it with the hinges you previously placed.