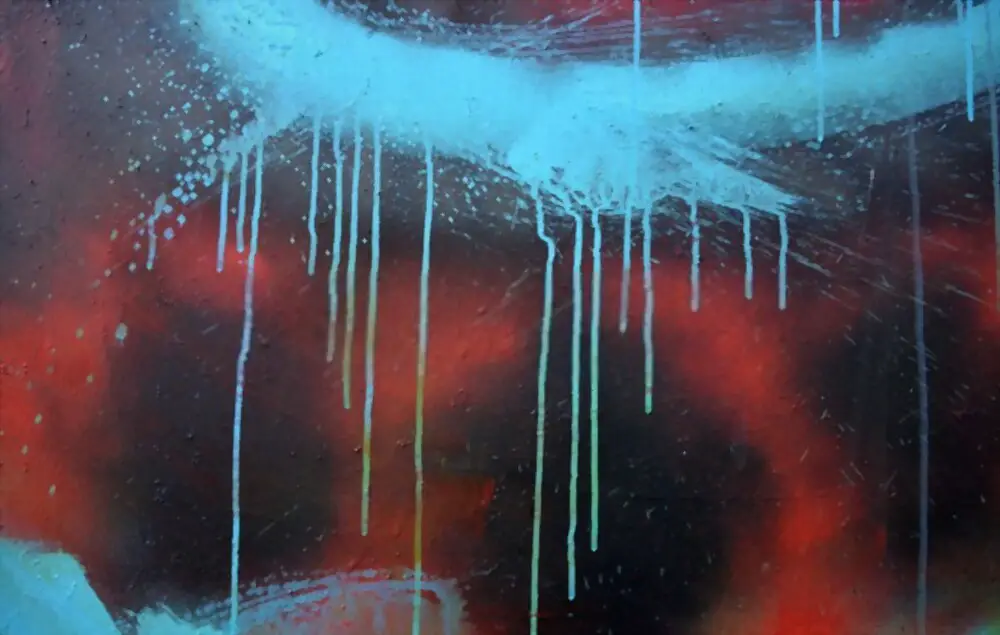
How can you make spray paint to dry faster?
- Apply a slim coat of paint.
- The golden rule of paint applying is that the thinner the coat, it will dry quickly.
- Keep your fan ON.
- Ventilation holds a significant purpose in quick-dry spray painting.
- Switch on the heater near the object.
- Decrease humidity.
How can you tell if spray paint is dry?
Spray paint holds a tacky texture; if it is surface dry, this is the time you need to re-coat; after the project drops that tacky texture, then it is considered to touch dry. Manage gently at this period. This limit can consume anywhere from 24-48 hours to be dry, depending on the material.
How long does it take for Rustoleum spray paint to dry?
For Rustoleum spray paint dry time: Dehydrates tack-free in 2-4 hours, to manage in 5-9 hours, and completely dry in 24 hours. Primers might be top-coated instantly. Apply a second layer or clear the coat in 1 hour or later 48 hours. Wipe off the tip before storing.
Why do you have to wait 48 hours to recoat spray paint?
Waiting for 48 hours within coats of spray paint will enable the first coat to dry or nearly so — before the second layer is applied, creating the two coats of paint to dry and cure as two individual coats can peel another separately. Lacquer-based paints dry quickly and can be re-coated anytime.
The two remarkable things about applying spray paint to paint just on anything are that the outcome will be smooth and even without brush strokes.
Another good stuff about using spray paint is that textured details, like wicker where there are many nooks and crannies in the exterior where the paint needs to get inside, are much manageable to paint with no paint build-up to push a brush loaded with paint into.
Tips before starting spray painting
- Always spray paint outside of the home or in a well-ventilated space like a garage, including the door wide open, and always wear a protective mask before you spray.
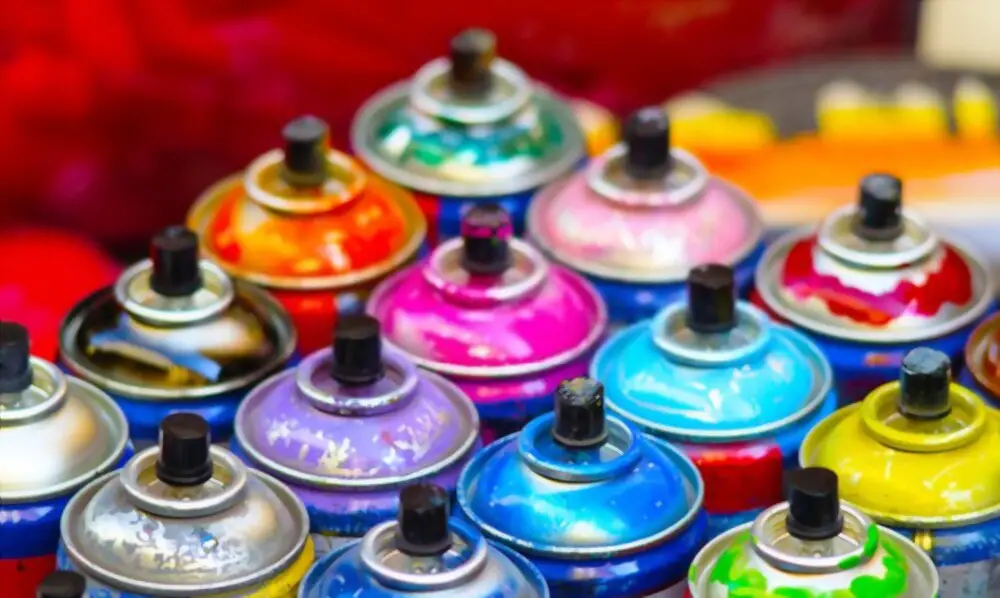
- Shake the can for at least a minute; shake it for another minute and before spraying too.
- Toward optimal paint adhesion and drying, spray when the temperature is within 65 – 85 degrees. Cooler is better. Seventy-five degrees plus no humidity, perfect condition
- Long, thin fluid strokes are the way to spray – and remember to shake the can a few times during spraying.
- It would be best to get all the coats required on the spraying piece within an hour. If you cannot get this done, wait for 48 hours to apply a new layer. If you add a layer before this waiting period, you might encounter spray paint wrinkling.
FAQ’s and Answers for Spray Paint
1.How many layers of spray paint are needed?
At least 2- thin coats are needed to get the desired coverage, and maybe even three implemented at different angles to ensure you are noticing everything covered. More thin coats are better than heavy ones but can get all the coats on within an hour.
2.How long is the drying time for the primer before spray painting?
The drying time for the primer before spray painting depends on the brand of the spray paint. The perfect time is when the primer is fully dry. If you used the suggested thin layer, it would dry within an hour, but read the spray paint can label to ensure. Drying time will take longer in sunny and muggy conditions.
3.Why did completed paint crackle or wrinkle when Re-coated?
Here is how to fix wrinkled spray paint that can occur after spraying an object with spray paint. A few factors can make the finish wrinkle or crack when applying an extra coat of paint. The most obvious is applying the paint too dense, making the paint’s exterior dry too fast but not underneath.
When you re-coat the solvents in the paint contract, and this results in spray paint wrinkling. Spray paint metal, spray paint sealer, spray paint clear coat, spray paint plastic, “spray paint humidity” are important things to consider.
How to fix-spray paint cracking and the method to avoid it– spray when the temp is 65 – 85 degrees, apply only even thin layers, and re-coat each minute. Also, read the instruction back of the can. Some brands tell you should get all re-coating completed in 30 – 60 minutes. After that time, do not re-coat for at least 24 – 48 hours, or else the paint might wrinkle. Again read the label for specifications. So follow these instructions to avoid spray paint cracking.
It might occur if there is wax or deposit on the object that is inconsistent with the paint. Sand, clean well and dry your object before painting. Use a primer, and ensure the spray paint you are using is made for that particular surface. Always read the label.
4.I spray painted my chandelier – it came out nice, but some of the sections are not smooth – they feel like sandpaper. What am I doing wrong? Help!
Powder deposit after spray painting occurs when you paint the surface outdoors when hot or in the sun. The paint spray drains before touching the surface, and it cannot equalize because of too rapid evaporation. It can also be caused if you retain the can too far away. It is beneficial to spray in the morning or evening when the summer and keep the can about 8-16 inches away from the object as you spray.
If it is a chandelier or large object that should be sprayed in parts, block off other parts while you spray one part at a time with a piece of cardboard.
5.The Pieces That I Spray Paint Always Have Raised Blotches, Do I Have to Sand It and Start All Over?
- During spray painting, after shaking the can for a minute and again shaking it for another minute. It is a common spray paint problems.
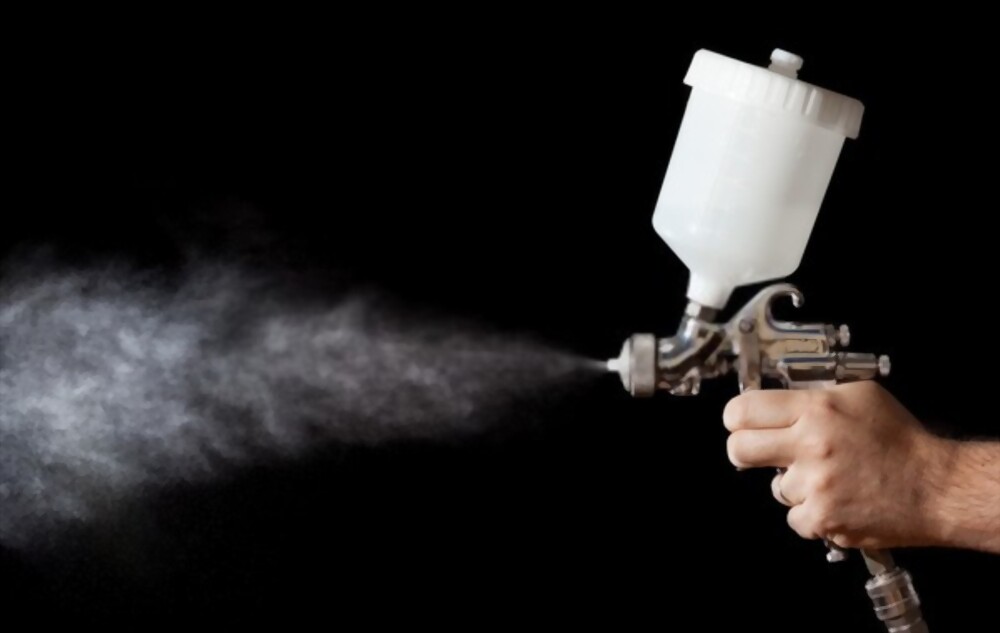
- Hold can upright 8 – 16 inches from surface.
- Press trigger or nozzle and start spreading the surface gently in a Steady back and forth movement
- Somewhat overlapping each stroke happens, and shaking the can several times as you paint. It will provide a nice even finish.
- You get spots of paint if you hold the spray in one area for a too long period.
- If you get spots and you need to sand it to start again.
- Wait till the paint was completely dry.
- If you sand too early, you will create a cohesive mess that will be difficult to remove.
- If this occurs, use a paint remover to remove the paint, clean entirely and start again.
6.How to Seal Spray Paint?
After the object you spray paint is completely dry, depending on the paint’s finish, you can apply a clear coat over spray paint. If you use high gloss, semi-gloss and require a shiny finish, you do not have to seal it.
If applying a lower finish, you can seal with a water-based sealer like Minwax Polycrylic. It comes in a spray variant. Apply a clear coat over spray paint. Most brands stated in the can’s label how to seal and sell sealers to specific paints.
7.Can you Paint Over Spray Paint?
Yes – you can paint over spray paint as long as it is scorched, not to the touch but dried and cured. You must sand the finish gently with 100 grit sandpaper to give the new paint something to seize onto.
If you sand too early after spray painting, you will create a gummy mess. After sanding, wipe the surface well with a wet rag and let dry. Next, you can paint over the spray-painted exterior with any paint.
8.How to Unclog the Spray Paint Can Nozzle?
It is a common spray paint problems. What brand is it? And can you remove the mouthpiece? If it is the Rustoleum brand, including the fancy spray tops – Nozzle cannot simply fix them. If the can is new, then take it back to the store to get your bucks back.
For Rustoleum spray paint dry time: Dehydrates tack-free in 2-4 hours, to manage in 5-9 hours, and completely dry in 24 hours. Primers might be top-coated instantly. Apply a second layer or clear the coat in 1 hour or later 48 hours. Wipe off the tip before storing.
Three Choices
- After every use, clear the valve of paint by holding the can upside down and sprinkling it off until only clear gas comes out.
- If 1st choice does not work, remove the valve and pour boiling water over it to eliminate any paint. You can also dip it in nail polish remover for half-hour. Then take a pointy toothpick or straight pin and put the tip inside the nozzle holes to remove the paint. Do for both the holes on the nozzle – the bottom and the one on the nozzle side.
Note:
- Only clean a spray paint nozzle when it is separated from the can.
- NEVER penetrate a pin into the nozzle if it is still on the can.
- Put back on the can, shake the can well, certainly shake it, so the paint is thoroughly mixed and spray. If it does not spray, hold the can upside down and attempt to spray.
- If you have some cans of spray paint in your paint stocks, try switching the nozzles. That usually helps the can spraying again.
Before throwing the spray can, remove the nozzles and save.
It will help in some situations.
9. How to Eliminate Spray Paint Odor on Newly Painted Furniture?
One approach to overcome spray paint odor is by reducing its curing time. Paint the furniture outdoors on a dry, moisture-free day, if practicable. If you previously painted the furniture, placed it outdoors on a non-humid day.
Sunny climate benefits even more. Place it outside in the sun and bring it in at night so it won’t get damp. Do this for few days till the odor is gone and the paint is cured. The airflow helps cure the paint and will eliminate the odor.
If helpless to keep the furniture outdoors, store it in a garage for some days or in a well-ventilated extra room of the home.
10. How Do I Spray Paint Small objects and Cabinet Knobs and Hardware?
Put your object on a piece of foam. If your object does not have a flat bottom, use toothpicks, Popsicle sticks, whatever to lift it so that you can securely move the piece your spraying without touching it. Spray paint metal, spray paint sealer, spray paint clear coat, spray paint plastic, “spray paint humidity” are important things to consider.
In this way, you move the piece quickly by holding up the foam but not the actual object to turn it about so that you get all surfaces equally spread with spray paint.
Pebble style foam (Thermacol) that reaches packed in boxes around TVs and knock-down furniture serves the best as the spray paint does not melt it. STYROFOAM style foam will melt if the spray paint is used very close to the surface. Using thin coats of paint will reduce any melting of the foam.
How to Construct a DIY Spray Painting Booth?
- Take a box to hold the object to be sprayed. If you spray paint a lot, get a big box that will hold all sizes. Use Duct tape to bind a few together to use when spraying larger objects.
- If you hold an extra box or two – ground them to create a large liner for the floor.
- Small objects need a small box.
To Save Your Instant Spray Booth
Open the back to make the box flat and store it vertically facing a wall and out of the way till you require it again. If you need it – fold up the box’s base by tucking every other cover under each other, so it fits an opened top box again.